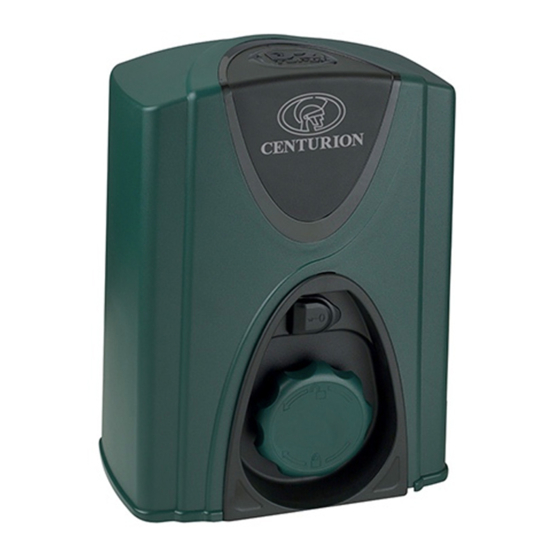
Centurion D2 Turbo Kurulum Kılavuzu - Sayfa 2
Garaj Kapısı Açıcı Centurion D2 Turbo için çevrimiçi göz atın veya pdf Kurulum Kılavuzu indirin. Centurion D2 Turbo 2 sayfaları. Domestic sliding gate operator
theft-resistant nut and padlock kit
Ayrıca Centurion D2 Turbo için: Kurulum Kılavuzu (9 sayfalar), Cep Kurulum Kılavuzu (13 sayfalar), Cep Kurulum Kılavuzu (2 sayfalar)

1. Installation instructions
It is important that the Theft-resistant Locking Nut and Padlock Kit is properly
fitted as per the instructions given.
1. Screw the Theft-resistant Locking Nut
onto the M10 mounting nut.
2. Align the Locking Nut and Padlock with
the Padlock hole facing you.
3. Insert the Discus padlock onto the Theft-
resistant Locking Nut and lock.
Centurion Systems cannot be held liable under any circumstances for any damage, loss or action that results
from the D2 Turbo Theft-resistant Locking Nut and Padlock being forced open or tampered with.
Centurion Systems reserves the right to change any product without prior notice.
0.07.A.0096_22072013
M10
mounting
bolt
Theft-resistant
Locking Nut
and Padlock
Kit in position
www.centsys.co.za
Theft-
resistant
Locking Nut
With the standard mounting nut in place, the
Theft-resistant Locking Nut is screwed
onto the right M10 mounting bolt, located
closest to the gate, by hand as far as is
possible so that the hole for the padlock is
facing you as shown in the image. Lock the
60mm discus lock onto this nut.
Discus
Padlock
When using this specific bolt position as well
as the supplied 60mm discus lock, the Theft-
resistant Locking Nut and Discus Padlock
Kit cannot be removed without seriously
damaging the gearbox, or destroying the
padlock, as the wall on the gearbox interferes
with the rotation of the nut with the lock in
place.
The Theft-resistant Locking Nut
and Padlock Kit is available from
CENTURION for sites requiring
additional security.
