jali Dresser Montaj Talimatları Kılavuzu - Sayfa 8
İç Mekan Mobilyaları jali Dresser için çevrimiçi göz atın veya pdf Montaj Talimatları Kılavuzu indirin. jali Dresser 9 sayfaları.
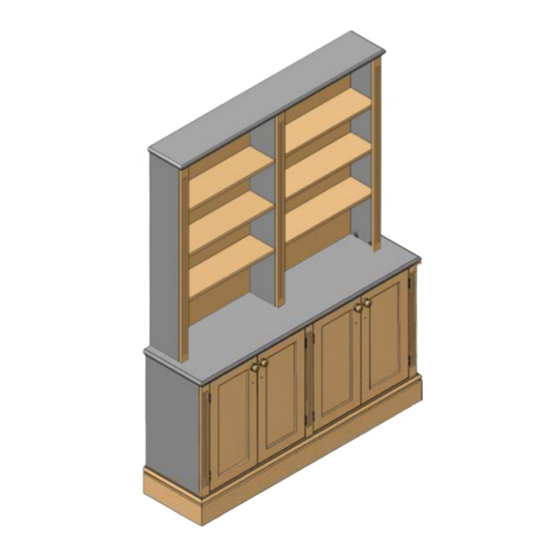
UPPER ASSEMBLY
If you've designed a single section unit, you will only have a LH Side & RH Side. However, if your
design has multiple sections, each section can be built up individually – that way, there's less heavy
lifting. The LH Side must go at the left of the first section, and the RH Side at the right of the last
section. The other sides are Mid Sides. Note that only the RH & LH Sides (outer) have grooves for the
Back. The Mid Sides (internal) don't, so the Back will overlap them on one or both sides.
Assembly Instructions: Dresser
14. Find the LH Side, which has a groove down its back inner
edge. The other part should either be the RH Side (for single
section units), or a Mid Side.
There are two sorts of Mid Side, and they're mirror images of
each other. Screw Cam Bolts in all the Sides, facing inwards.
Place Nickel Cams in all available holes in the LH & RH
Sides, and White Cams in the Mid Sides.
Place White Cams in the Box Top. The Box Top can be
placed between the two Sides, with its two 6mm holes facing
the front of the finished section (towards the floor),
and the White Cams facing outwards.
15. Now, working from the box top downwards, put each
Shelf in place. You'll need to angle the two Sides outwards
slightly to do this and, once they're all in place, push them
back so they're tight around the Shelves.
16. For single section units, you will only have one Back.
Slide this carefully between the grooves, and be careful not
to push the Sides outwards (or the Shelves will fall out of
place).
For multi section units, take note of the Back widths, as they
may be different. For inner sections (Mid Sides on both sides
and no grooves), the Back may be wider – refer to the Parts
Diagram. Slide or place the Back into place.
Fix the Back in place with 25mm WSH Screws.
For multi section units, where there is no groove, fix down
one side first, accurately realigning the Back edge to the
Side as you go.
Page 8 of 9