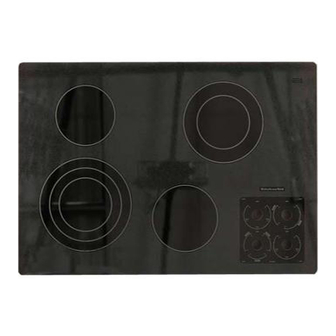
KitchenAid KECC507RWW03 Kurulum Talimatları Kılavuzu - Sayfa 6
Setüstü Ocak KitchenAid KECC507RWW03 için çevrimiçi göz atın veya pdf Kurulum Talimatları Kılavuzu indirin. KitchenAid KECC507RWW03 16 sayfaları. Electric cooktop
Ayrıca KitchenAid KECC507RWW03 için: Parça Kılavuzu (3 sayfalar)

Electrical Shock Hazard
Disconnect power before servicing.
Use 12 gauge copper wire.
Electrically ground cooktop.
Failure to follow these instructions can result in death,
fire, or electrical shock.
For all models except
15" (38.1 cm) model:
Electrical Shock Hazard
Disconnect power before servicing.
Use 8 gauge copper wire.
Electrically ground cooktop.
Failure to follow these instructions can result in death,
fire, or electrical shock.
This cooktop is manufactured with a frame connected, green or
bare ground wire. Connect the cooktop cable to the junction box
through the UL listed or CSA approved conduit connector.
For cooktops with a 4-wire cable:
If your home has:
And you will be
Go to Section:
connecting to:
4-wire direct
A fused
4-Wire Cable from
disconnect or
Power Supply to
circuit breaker
4-Wire Cable from
box
Cooktop
3-wire direct
A fused
3-Wire Cable from
disconnect or
Power Supply to
circuit breaker
4-Wire Cable from
box
Cooktop
For cooktops with a 3-wire cable:
If your home has:
And you will be
Go to Section:
connecting to:
4-wire direct
A fused
4-Wire Cable from
disconnect or
Power Supply to
circuit breaker
3-Wire Cable from
box
Cooktop
3-wire direct
A fused
3-Wire Cable from
disconnect or
Power Supply to
circuit breaker
3-Wire Cable from
box
Cooktop
4-Wire Cable from Power Supply to 4-Wire Cable from
Cooktop
IMPORTANT: Use the 4-wire cable from power supply where local
codes do not permit connecting the frame-ground
conductor to
the neutral (white) junction box wire.
A. Red wires
B. Bare or green wires
C. 4-Wire cable from cooktop
D. Junction box
E. White wires
F. UL listed wire nut
G. Black wires
H. UL listed or CSA approved
conduit connector
1. Disconnect power.
2. Remove junction box cover, if present.
