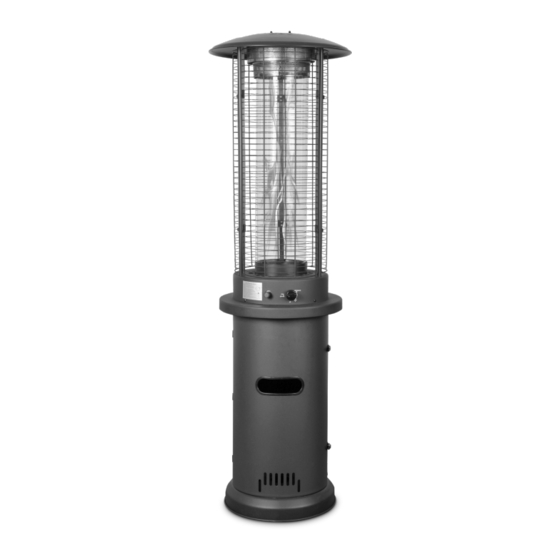
Decofire Halo Series Montaj, Güvenlik ve Kullanım Talimatları - Sayfa 9
Isıtıcı Decofire Halo Series için çevrimiçi göz atın veya pdf Montaj, Güvenlik ve Kullanım Talimatları indirin. Decofire Halo Series 17 sayfaları. Rapid reduction area heater

Step 4.
Note: Before commencing this step, note the correct
orientation of the upper frame supports (I) for
assembly. Ensure that the hooks on the upper frame
supports are facing upwards.
Remove the pre-assembled M5 screws from the upper
frame supports (I), then slide each support into the
slots at the top of the burner assembly (C).
Once fully inserted secure the upper frame supports
(I) into the burner (C) by using the M5 screws that
were removed at the beginning of this step.
Note orientation
of hooks
I
Remove
preassembled
M5 screw
C
Step 7.
Place the glass tube (E) into the top of the
glass tube ring (B).
M5 screw
E
B
Step 6.
Remove the 3 pre-assembled screws from the top of the
burner assembly (C).
Using the 3 screws removed at the beginning of this step,
attach the glass tube locating ring (B) to the top of the
burner assembly (C). Tighten the screws firmly.
x3
Step 8.
Remove the three pre-assembled M5 screws from the top of
each of the upper frame supports (I).
Position the reflector assembly over the top of the upper
frame supports and align the mounting holes.
Using the three screws that were previously removed, secure
the reflector assembly to each of the upper frame supports
(A) to the upper supporters (I). Tighten the screws firmly.
A
x3
B
x3
Page 9
