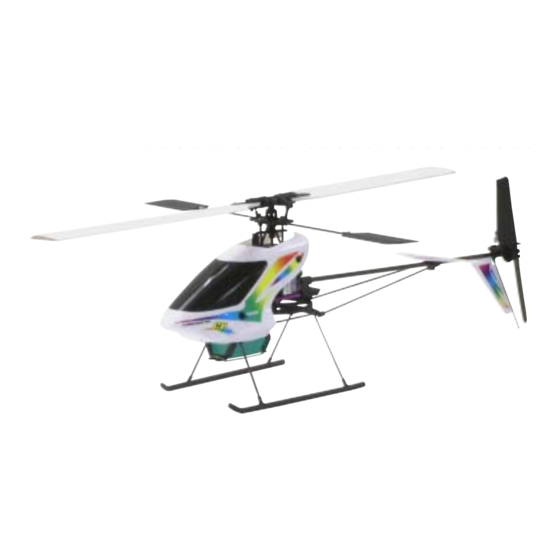
Century Helicopter Products Hummingbird Elite Series CP Kullanım Kılavuzu - Sayfa 5
Oyuncak Century Helicopter Products Hummingbird Elite Series CP için çevrimiçi göz atın veya pdf Kullanım Kılavuzu indirin. Century Helicopter Products Hummingbird Elite Series CP 12 sayfaları. Elite series helicopter

Section 2a
Section 2a
Section 2a
Section 2a
Section 2a
MODIFYING THE SERVOS FOR INSTALLATION
4 & 5. Trim both servo mounting flanges from each servo.
6. Cut the protruding portions from the bottom of the servo
case as pictured. This will allow the best fit in the model.
Note that the cut is made on the far end from the servo lead.
7. After modifying the servo it should appear as pictured.
8. Before entering section 3 you will need to remove the
pushrods from the swashplate of the helicopter.
5
4
Section 3
Section 3
Section 3
Section 3
Section 3
MOUNTING YOUR SERVOS (FP)
1. Insert the pushrod into the hole on
the servo arm farthest from the output
(10-12mm from center).
2. Place servo tape on the mounting
surface before mounting the servo.
3. Note that the elevator servo is
mounted slightly forward (3mm or so).
This will ensure that the arm can move
freely.
4
O
90
angle
Modifica
Modification And Diagnostics Of The
Modifica
Modifica
Modifica
tion And Diagnostics Of The
tion And Diagnostics Of The
tion And Diagnostics Of The
tion And Diagnostics Of The
Electronic Components (continued)
Electronic Components (continued)
Electronic Components (continued)
Electronic Components (continued)
Electronic Components (continued)
6
Servo and pushrod setup and
Servo and pushrod setup and
Servo and pushrod setup and
Servo and pushrod setup and
Servo and pushrod setup and
inst
inst
inst
install
inst
1
5
7. Turn the radio on with all sticks and
Swashplate
trims centered except for throttle. Make
sure the throttle is in the lowest position.
Use servo horns that have a hole 10-
7
12mm out from the servo pivot center and
Adjustable
place it as pictured (parallel to swashplate
pushrod and
and frame). Verify also that flybar paddles,
ball link
swashplate & servo horns are parallel to
each other and also 90 degrees to the
main shaft. You can adjust the lengths of
the pushrods by twisting the ball links
clockwise to shorten the length and
Servo horn
counterclockwise to increse the length.
Servo Arm Retaining Screw
Servo Lead w/
Connector
7
alla a a a a tion for the FP
all
all
tion for the FP
tion for the FP
all
tion for the FP
tion for the FP
2
4. Once the mounting position of the servo is
6
determined carefully mount the servo to the mast
tower. If the servo has a label on the same side
that will mount with double sided tape, peel off
the label and clean the surface using rubbing
alcohol.
5. After mounting the servo place the plastic ball
link on the corresponding control ball on the
swashplate. Only use the large opening on the
ball link.
6. There are only 2 servos needed on the FP.
When mounted they should appear as pictured.
The Ser
The Ser
The Ser
The Ser
The Servo
vo
vo
Servo Arm/Horn/Wheel
Servo Output Shaft
Servo Mounting Flange
Servo Case
8
ready to
mount servo
3
Ball Links
Ball Links
Ball Links
Ball Links
Ball Links
The correct side of the ball
link to mount has a larger
opening than the other side
and also has a lip in the
plastic around the opening.
Ball link closed end
Ball link open end with lip
vo
vo
Carefully remove
ball link from
swashplate ball.
Too much force
may break the
plastic balls.
5
5
