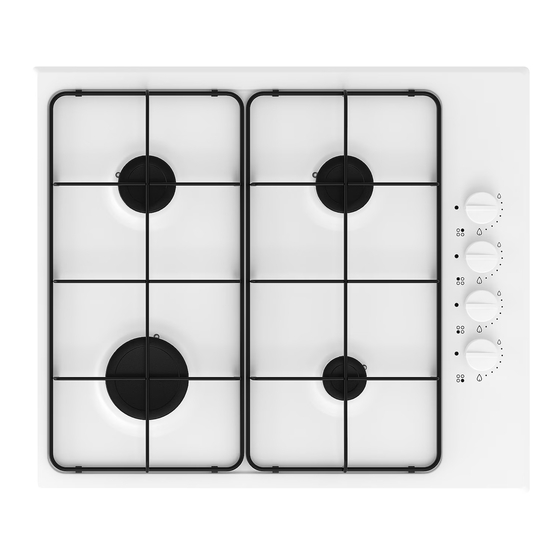
IKEA Lagan HGA4K Kullanım Kılavuzu - Sayfa 17
Hob IKEA Lagan HGA4K için çevrimiçi göz atın veya pdf Kullanım Kılavuzu indirin. IKEA Lagan HGA4K 24 sayfaları. Ikea hobs instruction manual
Ayrıca IKEA Lagan HGA4K için: Kullanıcı Kılavuzu (16 sayfalar), Kullanıcı Kılavuzu (28 sayfalar), Talimatlar Kılavuzu (20 sayfalar), Kullanım Kılavuzu (24 sayfalar), Kullanım Kılavuzu (16 sayfalar)

ENGLISH
(diameter 10 mm,
on, included in the supply (primary air
regulators) ;
• Rapid burner: after assembly the
injectors (
in following figure), screw
3
their cages (diameter 16 mm,
following figure) on, included in the
supply (primary air regulators) ;
4
Caution! In both cases use the
special cap tool
screwdriver to secure the cages.
Caution! Be sure to remove the
cap tool before reassembling the
burners.
Adjusting flame level
When hob has been fully installed, it is
necessary to check the minimum flame
setting:
1. Turn the gas tap to the maximum
position and ignite.
1
in following figure)
in
2
1
2
3
and a
4
2. Set the gas tap to the minimum flame
position then turn the control knob from
minimum to maximum several times. If
the flame is unstable or extinguished,
follow the procedure further.
3. Re-ignite the burner and set to
minimum.
4. Remove the control knob.
5. To adjust, use a thin bladed screwdriver
and turn the adjustment screw until the
flame is steady and does not extinguish,
when the knob is turned from minimum
to maximum, and vice versa (see
following picture).
6. Repeat this procedure for all burners.
7. Reassemble the knobs.
Warning! If the appliance is
connected to liquid gas (G31
propane or G30 butane), the
regulation screw must be
fastened as tightly as possible.
Gas setting conversion (for Hungary only)
This appliance has the gas
settings not applicable for
Hungary. If you install this
appliance in Hungary you must
change the gas settings.
Warning! Conversion or
replacement can only be
performed by a registered
installer.
To replace injectors:
1. Remove pan support.
2. Remove burner cap and crown.
3. With a socket spanner 7 unscrew and
remove the injectors, replace them with
17
