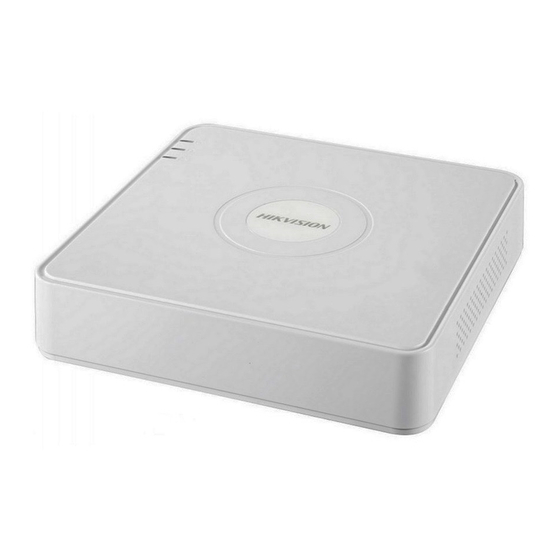
HIKVISION DS-7108HQHI-K1 Hızlı Başlangıç Kılavuzu - Sayfa 14
DVR HIKVISION DS-7108HQHI-K1 için çevrimiçi göz atın veya pdf Hızlı Başlangıç Kılavuzu indirin. HIKVISION DS-7108HQHI-K1 17 sayfaları. Network/digital video recorder
Ayrıca HIKVISION DS-7108HQHI-K1 için: Hızlı Başlangıç Kılavuzu (17 sayfalar), Hızlı Başlangıç Kılavuzu (8 sayfalar)

Configure Hik-Connect
Purpose
Hik-Connect provides mobile phone application and platform service to access and manage your connected
devices, which enables you to get a convenient remote access to the surveillance system.
Go to System > Configuration > Network > Platform Access.
Check Enable to activate the function. Then the service terms will pop up.
Enter the verification code in Verification Code.
1)
Scan the QR code to read the service terms and privacy statement.
2)
Check The Hik-Connect service will require internet access. Please read Service
3)
Terms and Privacy Statement before enabling the service if you agree the
service terms and privacy statement.
Click OK to save the settings.
4)
Hik-Connect is disabled by default.
The verification code is empty by default. It must contain 6 to 12 letters or numbers, and it is case
sensitive.
(Optional) Check Custom to enter the server address as your desire.
(Optional) Check Enable Stream Encryption, verification code is required for remote access and
live view.
Click Apply.
What to do next:
After configuration, you can access and manage your devices through Hik-Connect app or website.
Live View
Icons are provided on screen in Live View mode to indicate camera status. These icons include:
Live View Icons
In the live view mode, there are icons at the upper-right corner of the screen for each channel, showing the
status of the record and alarm in the channel for quick reference.
Alarm (video loss, tampering, motion detection, VCA or sensor alarm)
Record (manual record, continuous record, motion detection, VCA or alarm triggered record)
Alarm and Record
Event/Exception (event and exception information, appears at the lower-left corner of the screen.)
Recording Settings
Before you start
Digital Video Recorder Quick Start Guide
13
