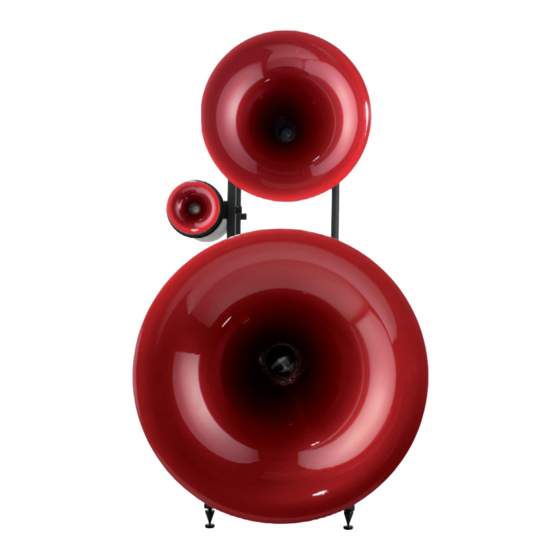
Avantgarde SHORT BASSHORN Kullanıcı Kılavuzu - Sayfa 5
Hoparlör Sistemi Avantgarde SHORT BASSHORN için çevrimiçi göz atın veya pdf Kullanıcı Kılavuzu indirin. Avantgarde SHORT BASSHORN 15 sayfaları.

❻
EARTH
❺
–SUB 2
SPKR INPUT
SPKR INPUT
❺
–SUB 1
PRESET
MENU
VOL
SLICE
CLIP
SELECT
SIG
OK
VOL
ENTER
ENTER
LED
SPKR
INPUT
MUTE
XLR
XLR
OUT
LAN
XLR
IN
ON
OFF
USB
12V DC TRIGGER
EARTH
XD-1000
AMP MODULE
100-240 VAC
50-60HZ
MAX. POWER
CONSUMPTION
1.200 WATTS
FUSE 6,3 A SLOW
SERIAL NO.
CAUTION!
Do not open.
Risk of
electrical shock!
8
GND
❸
GND
❷
❹
–CABLE
❹
❶
GND
GND
❼
SYSTEM INSTALLATION
ALLGEMEINE SICHERHEITSHINWEISE
• Vor der Verkabelung der Lautsprecher, müssen alle Ge-
räte ausgeschaltet bzw. vom Stromnetz getrennt sein. Si-
cherheitshalber den Netzstecker ziehen.
• Die Geräte niemals mit offenen Eingängen (unverkabelt)
betreiben! Um Defekte zu vermeiden, müssen alle Geräte
vor dem Netzanschluss ordnungsgemäß verkabelt sein!
• Beim Anschluss per Lautsprecherkabel unbedingt auf
die richtige Polarität achten! Verpolung beeinträchtigt den
Klang und kann die Endstufen bzw. den Lautsprecher be-
schädigen! Die " +/– " Adern niemals kurzschließen!
Hochwertiges Lautsprecherkabel und solide Bananen-
stecker oder Kabelschuhe verwenden.
STANDARD VERKABELUNG TRIO / TRIO CLASSICO
① Den Eingang ❶ des Lautsprechersystems und den Sub-
woofer–Eingang ❺–SUB 1 mit der längeren Kabelbrücke
❼ verbinden. Die Kabelbrücke befindet sich in der Zube-
hörbox.
② Wenn mehr als 1 x Subwoofer pro Kanal verwendet wird,
den Subwoofer–Eingang ❺–SUB 1 mit dem Subwoofer–
Eingang ❺–SUB 2 des zusätzlichen Subwoofers mit der
kürzeren Kabelbrücke ❼ verbinden. Die Kabelbrücke befin-
det sich in der Zubehörbox.
Die Kabelbrücken ❼ sind mit speziellen Hohlhülsen-
steckern konfektioniert, in die rückseitig ein weiterer Bana-
nenstecker eingesteckt werden kann.
③ Zum Anschluss des Hochtöners ❷ und des Mitteltö-
ners ❸ die beiden Anschlusskabel am Gestell ❹–CABLE
mit den kombinierten Mittel– und Hochton–Eingängen ❹
verbinden. Da beide Klemmenpaare ❹ parallel verschaltet
sind, ist es einerlei, welches der Klemmenpaare verwendet
wird. Auf die richtige Polarität achten!
④ Den Lautsprecher–Ausgang ❻ des Vollverstärkers bzw.
der Endstufe mit dem Eingang ❶ des Lautsprechersys-
tems verbinden.
⑤ Erst jetzt die Subwoofer mit den beigepackten Netzka-
beln an das Stromnetz anschließen und einschalten.
SYSTEM INSTALLATION
GENERAL SAFETY PRECAUTIONS
• The power to all components must be switched "off" (or
disconnected from the household AC) before making any
audio connections.
• To prevent misfunction/defects, do not operate compo-
nents with open input/output terminals. Before making any
AC power connections, all components have to be properly
installed and connected.
• Control the polarity! Never mix up + and -. Wrong polarity
will deteriorate the sound quality and can damage amplifier
and the active power module of the subwoofer. Do not short
circuit the +/– electric poles of the speaker cables.
Use high quality cable with solid speaker plugs (spades,
bananas etc).
STANDARD CONNECTION TRIO / TRIO CLASSICO
① Connect the Input ❶ of the horn speakers system and
the Subwoofer–Input ❺–SUB 1 with the longer jumper
cable ❼. The jumper cable is included in the accessory box.
② If you use more than 1 x subwoofer per channel, con-
nect the Subwoofer–Input ❺–SUB 1 and the Subwoofer–
Input ❺–SUB 2 of the additional subwoofer with the short-
er jumper cable ❼. The jumper cable is included in the ac-
cessory box.
The jumper cables ❼ have hollow banana plugs which
are open at the rear. This way it is possible to stack multiple
speaker cables to the same speaker terminal.
③ To connect the Tweeter ❷ and the Midrange ❸ to the
system, plug the two speaker cables ❹-CABLE coming
out of the frame structure to the combined Midrange and
Tweeter Input ❹. As both terminals ❹ are connected in
parallel, each cable can be connected to either of the two
terminals. Control the polarity!
④ Connect the Speaker–Output ❻ of your power (or inte-
grated) amplifier with the Speaker–Input ❶ of the speaker
system.
⑤ Only now, connect the AC power cords of the compo-
nents to a household AC outlet and turn on the subwoofer.
9
