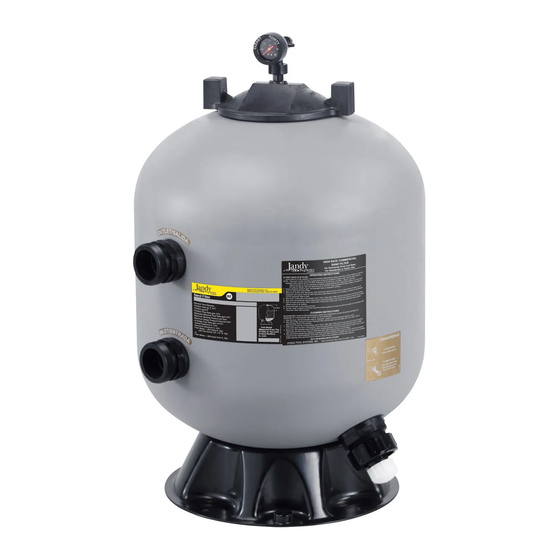
Jandy JS Series Kurulum ve Kullanım Kılavuzu - Sayfa 11
Su Filtrasyon Sistemleri Jandy JS Series için çevrimiçi göz atın veya pdf Kurulum ve Kullanım Kılavuzu indirin. Jandy JS Series 20 sayfaları. Composite sand filters, sidemount

2.
Before installing the lid, ensure that the air vent
screen at the top of the air vent tubing is properly
located above the diffuser such that it will be close
to the underside of the lid when the lid is installed.
See Figure 11.
Inspect the lid and tank for any damage before
installing the lid. A damaged lid or tank could cause
the lid to be blown off which can result in death,
serious personal injury, or property damage.
3.
Inspect the threads to make certain that they are
free of sand particles and wipe the threads on the
tank and lid clean of any sand or debris. Apply a
light coating of liquid dish washing detergent or
bar hand soap with some water to the lid sealing
surface on the top of the tank before installing the
lid. Do not use any type of oil or grease that can
cause sand to get caught in the threads. Thread the
lid into the tank, making certain that the lid threads
in smoothly. If resistance is felt while turning,
remove the lid and ensure that it is not being cross-
threaded into the tank and the threads are free
of sand. Use the handles to tighten the lid hand-
tight only. Do not use impact or hammers when
installing the lid.
Fiberglass and threads have sharp edges. To avoid
cuts, use a brush to clean threads free of sand or dirt.
4.
When the lid is fully installed, the seal flange must
contact the surface of the tank.
5.
If not already in place, the filter gauge/air relief
valve assembly should be installed per Figure 4 in
Section 3.3.
Section 4. Start-Up and Operation
This section applies to both new pool and
seasonal start-up. For a new pool, make sure pool is
cleaned before filling with water to avoid component
damage from excessive debris and dirt particles.
NOTE If the pool is a new concrete or gunite pool or
has a lot of debris or plaster dust that was not
removed before the pool was filled and difficult
to removed, start the filter with the backwash
valve selector set on "FILTER" mode and run for
48 hours. (After step 3, go directly to steps 12
though 16.) After the initial 48 hours in "FILTER"
mode, stop the pump and backwash the filter
following steps 8 through 17.
JS Series Sidemount Sand Filters
WARNING
WARNING
NEVER start pump while standing within
5 feet of the filter. Starting the pump
while there is pressurized air in the
system can cause product failure or also
cause the filter lid to be blown off, which
can cause death, se ri ous personal injury
or property damage.
NEVER operate the filter system at
more than 50 psi of pressure. Operating
filter system in excess of 50 psi can
cause product failure or also cause
the filter lid to be blown off, which can
cause death, serious personal injury or
property damage.
DO NOT operate filter at water temperatures above
104° F (40° C). Water temperatures above the
manufacturer's recommendations will shorten the life
span of the filter and void the warranty.
1.
Turn off the pump. Switch off the circuit breaker
to the pump motor.
2.
Check that the drain plug is in place and tight.
3.
Check that the tank lid is correctly seated and
tight, see Figure 12, and ensure the pressure
gauge/relief valve assembly is fully installed in the
lid.
4.
Ensure the backwash piping is open.
5.
Open the pump hair/lint pot lid and fill the pump
basket with water to prime the system. Replace the
lid. (You may have to do this several times on new
and seasonal start-ups.)
6.
Completely open the air release valve on the
gauge/air release assembly by turning the knob on
the back of the assembly fully counterclockwise
(do not remove the knob).
Air Release Valve
Lid Flange Fully
Seated Against Tank
Figure 12. Filter Lid Installation
Page 11
WARNING
WARNING
CAUTION
Vent Hole
Air Vent
Screen
