Avatoast 184T3300B Kullanıcı Kılavuzu - Sayfa 5
Tost Makinesi Avatoast 184T3300B için çevrimiçi göz atın veya pdf Kullanıcı Kılavuzu indirin. Avatoast 184T3300B 9 sayfaları. Adjustable speed conveyor toaster

DISCHARGE ASSEMBLY
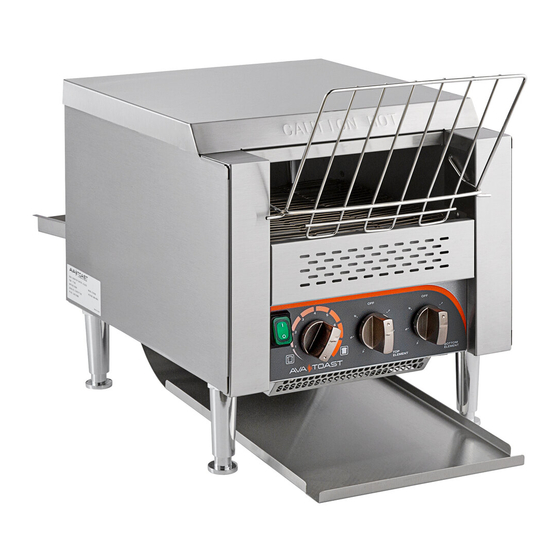
As detailed in the diagrams below, the unit can either be assembled with front or rear discharge
depending on installation position and preference.
FRONT DISCHARGE
1 . Pull metal plate up to the closed position
and latch . This will direct food to the
bottom of the toaster .
2 . Pick up the longer of the two chutes .
3 . Slide the flanged end of the chute up
underneath the toaster .
4 . Rest the flanged end of the chute onto
the interior ledge .
STACKING KIT
REAR DISCHARGE
1 . Push the metal plate down to the open
position . This will direct food to the back
of the toaster .
2 . Loosen the two rear screws .
3 . Pick up the smaller of the two chutes .
4 . Slide the two keyholes on the chute behind
the loosened screws . If the chute does not
fit all the way down, loosen the screws more .
5 . Tighten the screws to secure the chute
to the toaster .
#184STK10 - 10" WIDE
#184STK145 - 14½" WIDE
The optional stacking kit attachment can be used
to mount one toaster on top of another .
1 . To mount, set up both toasters for front discharge .
2 . Remove the two rear top cover screws from
the bottom toaster .
3 . Place the stacking bracket onto the top cover
of the toaster .
4 . Replace the two top cover screws,
securing the stacking bracket in place .
5 . Remove the discharge chute from the toaster
to be placed on top .
6 . Place the toaster onto the bracket, ensuring
the leveling feet locate into the holes in the
stacking bracket .
4.
