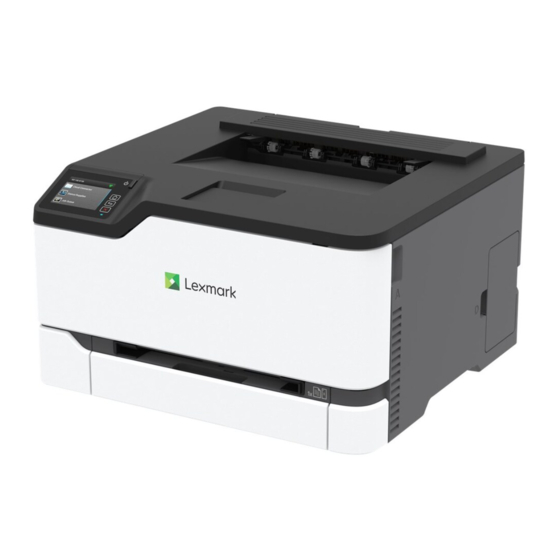
Lexmark C3426 Hızlı Referans - Sayfa 5
Yazıcı Lexmark C3426 için çevrimiçi göz atın veya pdf Hızlı Referans indirin. Lexmark C3426 11 sayfaları.

•
Load letterhead with the printable side facedown and the
top edge entering the printer last for two ‑ sided printing.
•
Load envelope with the flap side down and against the right
side of the paper guide.
3
Feed the paper until its leading edge gets pulled in.
Notes:
•
To avoid paper jams, do not force paper into the manual
feeder.
•
Before loading another sheet, wait for a message to
appear on the display.
Setting the paper size and type
1
From the control panel, navigate to:
Settings > Paper > Tray Configuration > Paper Size/Type >
select a paper source
For non-touch-screen printer models, press
through the settings.
2
Set the paper size and type.
Updating firmware
Some applications require a minimum device firmware level to
operate correctly.
For more information on updating the device firmware, contact
your sales representative.
1
Open a web browser, and then type the printer IP address in
the address field.
Notes:
•
View the printer IP address on the printer home screen.
The IP address appears as four sets of numbers
separated by periods, such as 123.123.123.123.
•
If you are using a proxy server, then temporarily disable
it to load the web page correctly.
2
Click Settings > Device > Update Firmware.
3
Do either of the following:
•
Click Check for updates > I agree, start update.
•
Upload the flash file.
a
Browse to the flash file.
b
Click Upload > Start.
Configuring Wi‑Fi Direct
®
Wi-Fi Direct
is a Wi-Fi-based peer-to-peer technology that allows
wireless devices to connect directly to a Wi-Fi Direct ‑ enabled
printer without using an access point (wireless router).
1
From the control panel, navigate to:
Settings > Network/Ports > Wi-Fi Direct
For non ‑ touch ‑ screen printer models, press
through the settings.
2
Configure the settings.
Enable Wi ‑ Fi Direct—Enables the printer to broadcast its
•
own Wi ‑ Fi Direct network.
Wi ‑ Fi Direct Name—Assigns a name for the Wi ‑ Fi Direct
•
network.
Wi ‑ Fi Direct Password—Assigns the password for
•
negotiating the wireless security when using the peer ‑ to-
peer connection.
•
Show Password on Setup Page—Shows the password on
to navigate
the Network Setup Page.
•
Auto-Accept Push Button Requests—Lets the printer
accept connection requests automatically.
to navigate
5
Note: Accepting push ‑ button requests automatically is
not secured.
Notes:
•
By default, the Wi-Fi Direct network password is not visible
on the printer display. To show the password, enable the
password peek icon. From the control panel, navigate to
Settings > Security > Miscellaneous > Enable
Password/PIN Reveal.
•
To know the password of the Wi-Fi Direct network without
showing it on the printer display, from the control panel
navigate to Settings > Reports > Network > Network Setup
Page.
Connecting a mobile device to the
printer
Before connecting your mobile device, make sure that Wi ‑ Fi Direct
has been configured. For more information, see
Wi ‑ Fi Direct" on page
5.
Connecting using Wi‑Fi Direct
Note: These instructions apply only to Android mobile devices.
1
From the mobile device, go to the settings menu.
Enable Wi ‑ Fi, and then tap Wi ‑ Fi Direct.
2
3
Select the printer Wi-Fi Direct name.
4
Confirm the connection on the printer control panel.
Connecting using Wi‑Fi
1
From the mobile device, go to the settings menu.
Tap Wi ‑ Fi, and then select the printer Wi-Fi Direct name.
2
Note: The string DIRECT-xy (where x and y are two random
characters) is added before the Wi-Fi Direct name.
3
Enter the Wi-Fi Direct password.
Connecting the printer to a Wi‑Fi
network
Note: This feature is available only in some printer models.
"Configuring
