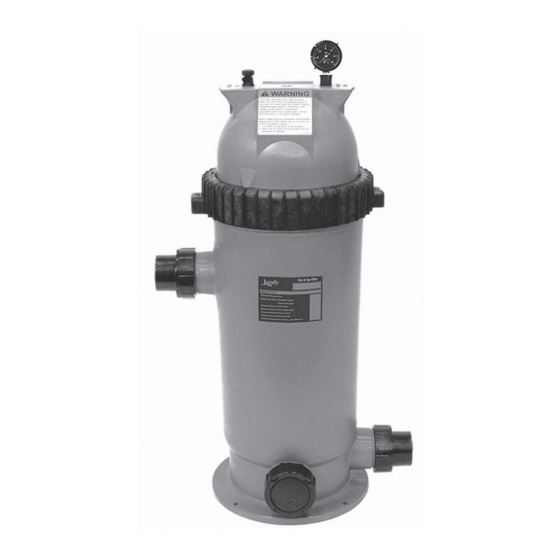
Jandy CS250 Kurulum ve Kullanım Kılavuzu - Sayfa 10
Yüzme Havuzu Filtresi Jandy CS250 için çevrimiçi göz atın veya pdf Kurulum ve Kullanım Kılavuzu indirin. Jandy CS250 16 sayfaları. Single element cartridge pool & spa cs filters
Ayrıca Jandy CS250 için: Kurulum ve Kullanım Kılavuzu (16 sayfalar)

Page 10
ENGLISH
3.
Open the air release valve on top of the filter and
wait for all air pressure to be released.
4.
Open the filter tank drain. When the filter tank has
drained, close the drain. Place it upright in a area
suitable for washing.
5.
Open filter tank and remove cartridge element,
see Section 5.1 "Filter Element Removal". Place
it upright in an area suitable for washing.
6.
Use a garden hose and nozzle to wash each pleat
of the element.
NOTE
Algae, suntan oil, calcium and body oils can form
coatings on filter element which may not be removed
by normal hosing. To remove such materials, soak the
element in de-greaser and then a de-scaler. Your local
pool shop will be able to recommend suitable products.
7.
Replace the cartridge back into the filter tank.
Inspect the o-ring for cracks or wear marks. Place
the o-ring back onto the filter tank top. Replace
the top of the tank. See Section 3.4 "Locking
Ring/Tank Top Assembly Installation".
8.
Reopen the isolation valves if they were closed.
9.
Stand clear of the filter, start the pump and
circulate the water until water sprays out of the
air release valve. Close the air release valve. The
filter is now back in operating mode.
10.
Watch the pressure gauge to be sure that the
pressure does not exceed 50 psi. If the pressure
approaches 50 psi, immediately turn the pump
off and clean the filter cartridges. If the pressure
remains high after cleaning the filter, refer to the
troubleshooting guide, Section 8, for possible
causes and solutions.
6.4
Breather Tube Maintenance
off
1.
Turn
the filter pump and switch off the circuit
breaker to the pump motor.
2.
If the filter is installed below pool level, close any
filter isolation valves to prevent flooding.
3.
Open the air release valve on top of the filter and
wait for all air pressure to be released.
4.
Loosen the drain plug at the base of the filter to
ensure the tank is empty.
5.
Open the filter tank.
6.
Check breather tube for obstructions or debris.
If necessary, remove the breather tube and flush
with running water until the obstruction or debris
is cleared. See Figure 7.
7.
If the obstruction or debris can not be removed
or the breather tube is damaged, STOP using the
filter immediately and replace the breather tube
assembly.
Jandy
Pro Series, CS Single Element Cartridge Pool & Spa Filter
®
8.
9.
10.
11.
12.
Section 7. Winterizing
1.
2.
3.
4.
5.
|
WARNING
If the breather tube is not fully seated
or is damaged or clogged, trapped
air can cause product failure or also
cause the filter lid to be blown off
which can result in death, serious
personal injury or property damage.
Reassemble breather tube. Fully seat the breather
tube into the bottom tank.
Replace the filter locking ring/tank top assembly
on the filter and tighten. See Section 3.4 "Locking
Ring/Tank Top Assembly Installation".
Reopen isolation valve if they were closed.
Stand clear of the filter, start the pump and
circulate the water until water sprays out of the
air release valve. Close the air release valve. The
filter is now back in operating mode.
Watch the pressure gauge to be sure that the
pressure does not exceed 50 psi. If the pressure
approaches 50 psi, immediately turn the pump
off and clean the filter cartridges. If the pressure
remains high after cleaning the filter, refer to the
troubleshooting guide, Section 8, for possible
causes and solutions.
off
Turn
the filter pump and switch off the circuit
breaker to the pump motor.
Open air release valve on top of the filter.
remove.
Loosen the drain nut and cap at the base of the
filter to ensure that the tank is empty.
Drain circulation system of all water.
Cover the system with a tarpaulin or plastic sheet
to protect it from the weather.
Installation & Operation Manual
Do not
