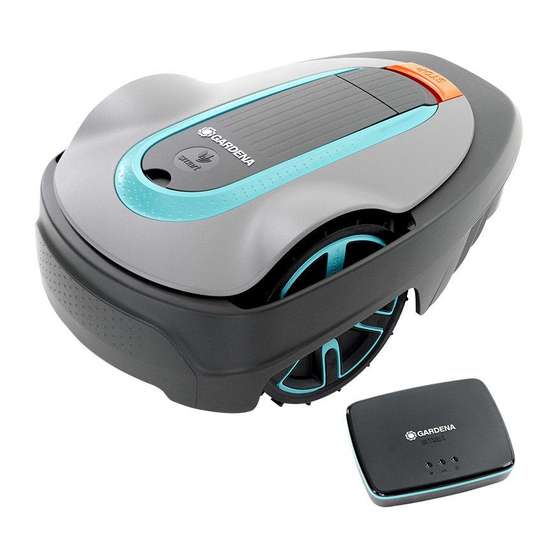
Gardena 19066-20 Hızlı Kılavuz - Sayfa 4
Çim Biçme Makinesi Gardena 19066-20 için çevrimiçi göz atın veya pdf Hızlı Kılavuz indirin. Gardena 19066-20 4 sayfaları.

5. To start and stop the robotic lawn mower
When starting the robotic lawn mower for the first time a start-up sequence begins where you
choose your language, country, date, time and personal PIN code. There is also a guide calib-
ration, where the robotic lawn mower automatically follow the guide wire.
To start the product
1. Open the hatch to the keypad.
2. Push the ON/OFF button for 3 seconds.
3. Enter the PIN code.
4. Select the operating mode.
5
Close the hatch.
To stop the product
1.
Push the STOP button.
6. To change the settings
All settings for the robotic lawn mower are done via the menu functions. Please read the Operator's
manual and become familiar with the menus and settings.
1. The Schedule function is used to adjust the mowing time to suit your work area. If the robotic lawn
mower is allowed to mow too often, the grass may appear flattened. Use the scheduling wizard to set
a suitable schedule. Push the Menu button and select Schedule > Wizard and enter the size of your
work area. If you want to change the schedule settings for individual days use Schedule > Advanced .
2. Use the Mode button to choose operating mode, for example Main area, Secondary area and Park .
Test run the robotic lawn mower through narrow passages
Narrow passages in the garden can make it difficult for the mower to find the charging station. Use the Test
function to test that the robotic lawn mower can travel through the narrow passage.
1. Place the robotic lawn mower in the charging station.
2. Select Test in the menu ( Settings > Lawn coverage > More > Test ) and push OK.
Then push the Start button and close the hatch.
3. Check that the robotic lawn mower follows the guide wire through the passage.
a.
If the robotic lawn mower runs through the passage, the test is complete.
b.
If the robotic lawn mower does not get through the passage: Check that the guide wire has been laid
according to the instructions in the Operator's manual.
114 18 54-26
P01_P02_QG_EN.indd 4
www.gardena.com
2019-10-29
2
1
3
1
The right to make changes without prior notice is reserved.
Copyright © 2019 GARDENA Manufacturing GmbH. All rights reserved.
www.gardena.com
2
2019-10-29 12:55:29
