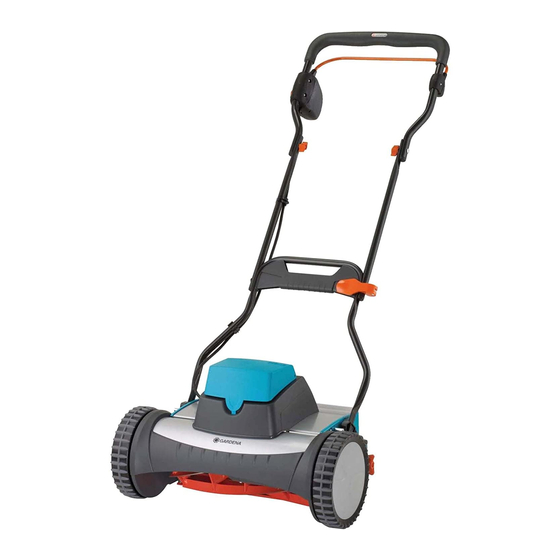
Gardena 380 AC Kullanım Talimatları Kılavuzu - Sayfa 4
Çim Biçme Makinesi Gardena 380 AC için çevrimiçi göz atın veya pdf Kullanım Talimatları Kılavuzu indirin. Gardena 380 AC 13 sayfaları. Accu rechargeable cylinder lawnmower
Ayrıca Gardena 380 AC için: Kullanım Talimatları Kılavuzu (13 sayfalar), Kullanım Talimatları Kılavuzu (13 sayfalar)

Do not touch battery acid.
If acid comes in contact with the eyes, wash
3. Assembly
Assembling the handle :
9
B
z
m
A
6
5
A
4
0
7
8
Fit Accu :
D
F
E
14
1. Insert lower part of bottom upright
into upright holders
secure with the screws
2. Push connector
into upper part of bottom upright
3. Insert threaded rod
lower parts of central upright
upper part of bottom upright
connector
4. Slide threaded bearing
7
clamping lever
5. Screw clamping lever
threaded rod
1
6. Move clamping lever
connector
clamping lever
7. If clamping lever
lock, screw another turn onto
threaded rod
until clamping lever
connector
8 Firmly attach bottom part of top
9
upright
5
upright
The safety starter lock
be on the left.
9. Fix the motor cable
Warning ! Short-circuit – fire risk !
A
V Accu-contacts should never be bridged with metal !
The Accu is supplied charged at the factory but may lose charge if
C
it has been stored for a long time. Charge the Accu before using it
for the first time (see 7. Maintenance Charging the Accu ).
1. Press Accu cover
2. Insert the Accu
tions pointing towards the flat plugs
Warning !
A
The polarity + / - and the colours of the connections
on the Accu and the flat cable must match.
V Connect flat cable
matching the terminals (see adhesive label on
the Accu).
1. Secure Accu
2. Close Accu cover
out immediately with water and send for a
doctor.
2
up to stop and
3
.
4
from underneath
6
from left through
5
,
1
and
4
right up to the stop.
8
into
7
.
7
onto
6
approx. 4 turns.
7
onto
4
and check whether
7
locks.
7
does not yet
6
. Repeat procedure
7
locks on
4
.
to upper parts of central
z
using 2 wing nuts
m
.
B
on the crossbar
0
to the upright with the two cable clips
C
lightly at the front and open.
D
into the Accu compartment with the connec-
E
to the Accu connections,
D
with the retaining strap
C
.
1
1
3
1
.
6
4
7
9
must then
E
.
F
.
2
7
A
.
