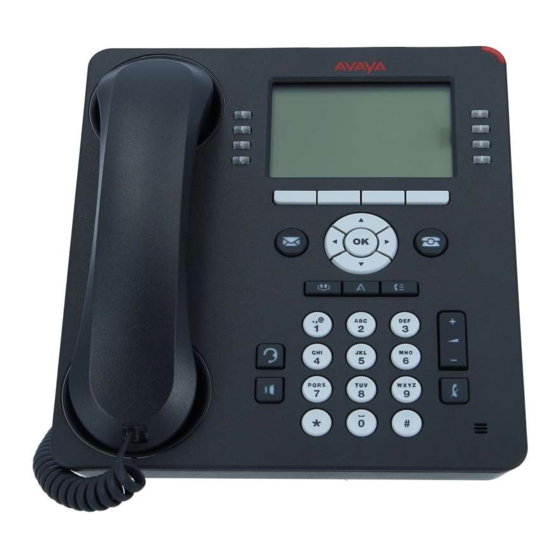
Phone Features
(Features are dependent upon administrative rights)
Call Park
This feature can put a call on hold and
retrieved from any other extension within the office.
1. Whenever you receive a call and wish to Park it, press
[CPark1] or [CPark2].
2. Because you parked the call you will see a diamond
shape w next to park slot you selected. Everyone else will
see an underline under the parked slot, i.e. CPark1.
To retrieve the call from another extension
1. Press the park slot that you were notified to retrieve,
i.e. CPark1
DND [Do Not Disturb
to send calls directly to VM
1. To activate press [DND]. When this feature is activat-
ed you will see an arrow ► next to the feature. You will
hear a half ring as a reminder when a call comes in and
[DND] is activated. When you pick-up the handset while
[DND] is activated you will hear a stuttered dial-tone as
another reminder, however you will still be able to make
calls.
2. To deactivate press [DND] again.
Call Pickup
(when you want to answer a ringing phone
in your group. )
To answer a ringing phone, press the Call Pickup
button and enter the extension of the phone that is
ringing. That call will now be on the user's phone
that picked up.
w w w . c o n s o l t e c h . c o m
]
This feature allows you
Call Directories
Contacts
(You can store up to 250 name and telephone numbers)
Viewing Contacts Details
Press the Contacts button to display the Contacts screen.
Select the contact you want to view.
Press the [Details] softkey to view all information available for that contact.
Adding a New Contact
Press the Contacts button .
Press the New softkey.
Enter the name using the dialpad.
Pressing the "2" on your dialpad displays the letter "A." Pressing the 2 key again
replaces the A with a "B," pressing it again replaces the B with a "C" and pressing it again
replaces the C with a "2;" pressing it again re-displays the letter "A," and so on. Pause be-
fore entering the next character if the characters are on the same key.
If you want to remove a letter, number, space, or symbol that is in the middle
of the text you entered, use
to place your cursor after the character you want to re-
move. Once your cursor is in the correct position, press Bksp to remove the character
Press the [More] softkey
letters or to enter numbers.
Press the [ABC] again to cycle through the options (Abc/123/abc/ABC)
Press the [More] softkey
your dialpad. Select the symbol you want to use. Press OK to select the symbol.
Press Clear to delete all text and start over.
Use the Navigation Arrows to scroll to the next field or press the corresponding Line
button to select the next field.
Enter the telephone number.
Press the [Save] softkey.
Editing a Contact
Press the Contacts button.
Select the contact entry you wish to edit.
Press the [More] softkey
Choose the field you want to edit.
Use the dialpad and softkeys to make changes to the contact information.
Press the [Save] softkey.
Deleting a Contact
Press the Contacts button.
Select the contact entry you wish to delete.
Press the [More] softkey
Press the [Delete] softkey again to confirm.
History
Viewing the History
Press the History button.
Use the
to view separate lists of your missed, answered, or outgoing calls
NOTE: You can scroll quickly to the top of the list by pressing Call Log again.
Viewing History Details
Press the History button.
Select the number you want to view.
Press the [Details] softkey.
Press the [Back] softkey to return to the list view.
Adding an Entry from the Call Log to your Contacts List
Press the History button.
Select the History entry you want to add to your Contacts list.
Press the [+Contact] softkey.
Edit name and telephone number, if necessary. Editing is same as above in Contacts
section
Press Save.
Removing an Entry from the History
From the History screen, select the entry you wish to delete.
Press the [More] softkey.
Press the [Delete] softkey
Press the [Delete] softkey again to confirm,
retain the entry.
Clearing all Entries from the History
From the History screen, select the entry you wish to delete.
Select the list you want to delete. (All Calls list, Outgoing Calls list etc.)
Press the [More] softkey.
Press the [Clear All] softkey to delete all of the entries in the list you are viewing.
Press the [Clear All] softkey again to confirm.
Abc to change between upper and lower case
Symbols to enter characters that are not on
Edit .
Delete .
or
press the [Cancel] softkey if you wish to

