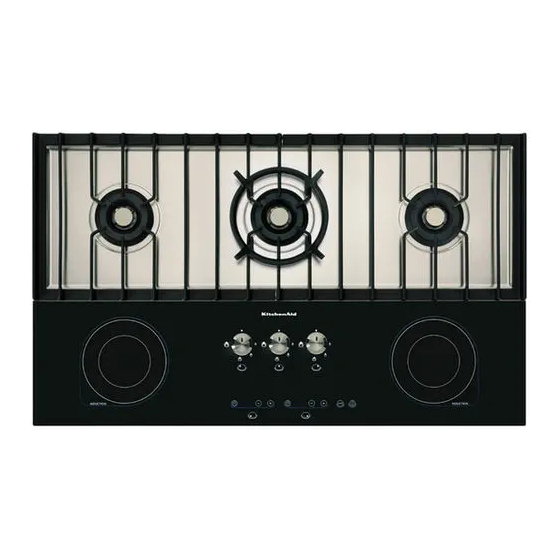
KitchenAid KHMS 9010/I Talimatlar Kılavuzu - Sayfa 14
Havalandırma Davlumbazı KitchenAid KHMS 9010/I için çevrimiçi göz atın veya pdf Talimatlar Kılavuzu indirin. KitchenAid KHMS 9010/I 20 sayfaları.
Ayrıca KitchenAid KHMS 9010/I için: (Fransızca) Manuel (12 sayfalar)

Replacing the injectors
(See the product description sheet for model)
Remove the bottom of the hob, lifting out the installation
brackets to change the dual crown wok burner injector. Please
contact the Customer Care Centre.
REMOVING THE MAIN INJECTOR
Remove the injector (F) using a 10mm spanner. Slacken the
holding screw (H) to regulate the position (X) of the gas inlet
coupling (G) with regard to the injector.
REMOVING THE SECONDARY INJECTOR
Remove the injector (I) using a 12 mm spanner. There is no need
to regulate the position (Y) of the gas inlet coupling (L) with
regard to the injector. Leave it at end stroke, corresponding with
the sizes shown in the injector table.
FITTING THE WOK BURNER
To fit the dual crown burner wok, insert in the following order:
the burner ring (A), the decorative covering ring (B), the external
burner cap (C) and the internal burner cap (D).
Regulating the minimum level of the taps
To ensure the minimum level is properly regulated, remove the
handle and work on the screws found on the tap as follows:
• tighten to reduce the height of the flame (-)
• slacken to increase the height of the flame (+)
Regulating the minimum level must be done with the tap at the
lowest position (small flame)
- There is no need to regulate the primary air in the burners.
- With the burners on, rotate the buttons from the maximum
to the minimum position
flame.
Once you have finished regulating, close up the seals again using
sealing wax or similar.
.
to check the stability of the
14
