Gardena EasyCut Li-18/23 R Kullanım Talimatları Kılavuzu - Sayfa 10
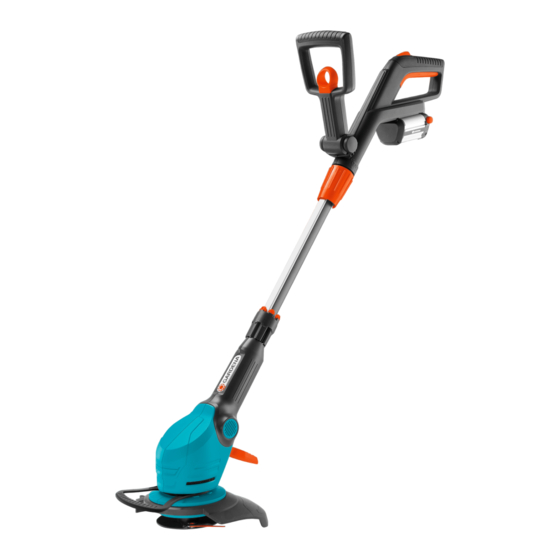
Düzeltici Gardena EasyCut Li-18/23 R için çevrimiçi göz atın veya pdf Kullanım Talimatları Kılavuzu indirin. Gardena EasyCut Li-18/23 R 18 sayfaları. Accu turbotrimmer
Ayrıca Gardena EasyCut Li-18/23 R için: Kullanım Talimatları Kılavuzu (16 sayfalar), Kullanım Talimatları Kılavuzu (17 sayfalar), Operatör El Kitabı (11 sayfalar), Kullanım Talimatları Kılavuzu (17 sayfalar)
s
B
Problem
The Trimmer is not cutting
cleanly or not cutting at all
The trimmer vibrates severely
The trimmer does not start
The trimmer stops.
ß
ErrorLED
flashes
W
Charging control lamp
the charger does not illuminate
Charging control lamp
the charger flashes red
The trimmer stops.
ß
ErrorLED
flashes
W
The battery can no longer
be charged
Only an original GARDENA BLi-18 Replaceable Battery (Art. 9839) may be used.
This can be obtained from your GARDENA dealer or directly from GARDENA Service.
22
Disassembling the plastic blade:
1. Turn the trimmer over.
2. Press end of blade down slightly (A), slide blade
A
through blade carrier
Assembling the plastic blade:
v Slide new blade
s
carrier
When the new blade is correctly inserted, it can be moved more
easily.
e
Possible Cause
Blade worn or too short.
Blade broken off.
The blade is excessively worn
and creates an unbalance.
Battery is flat.
Battery not pushed onto the
handle properly.
Motor blockage.
Battery overload.
High temperature. The allowed
operation temperature was
exceded.
9
on
Battery charger or charging
cable not plugged in properly.
9
on
Charging error.
Battery error /
battery defective.
Battery is defective.
s
(B) and pull out.
e
from inside through slot in metal of blade
until it snaps into place.
Remedy
v Replace blade.
v Replace blade.
v Replace blade.
v Charge battery
v Push battery onto the handle
v Unblock and restart the
v Wait for 10 sec.
v Leave battery to cool for
v Plug in battery charger and
v Unplug charger and plug
v Press button
v Replace the battery
e
inside
(see 3. Initial Operation).
and make sure that the locking
buttons snap in correctly.
device.
ß
Press button
on the battery
B
and restart.
approx. 15 min. Press
ß
button
on the battery
B
and restart.
charging cable properly.
in again.
ß
on the
B
battery and restart.
(Art. No. 9839).