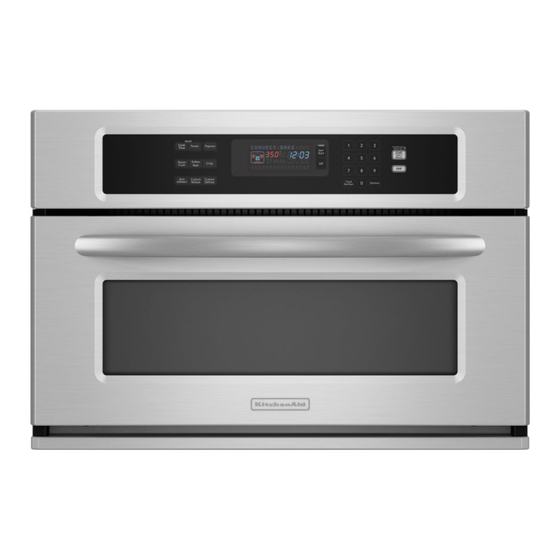
KitchenAid KBHS109SSS - 30 in. 1.4 cu. Ft. Microwave Oven Kurulum Talimatları Kılavuzu - Sayfa 5
Mikrodalga Fırın KitchenAid KBHS109SSS - 30 in. 1.4 cu. Ft. Microwave Oven için çevrimiçi göz atın veya pdf Kurulum Talimatları Kılavuzu indirin. KitchenAid KBHS109SSS - 30 in. 1.4 cu. Ft. Microwave Oven 16 sayfaları. 27" (68.6 cm) and 30" (76.2 cm) electric built-in convection microwave oven
Ayrıca KitchenAid KBHS109SSS - 30 in. 1.4 cu. Ft. Microwave Oven için: Ürün Boyutları (1 sayfalar)

Prepare Built-In Microwave Oven
1. Locate existing wiring to avoid drilling into or severing wiring
during installation.
WARNING
Excessive Weight Hazard
Use two or more people to move and install
microwave oven.
Failure to do so can result in back or other injury.
2. To avoid floor damage, set the microwave oven onto
cardboard prior to installation. Do not use handle or any
portion of the front frame for lifting.
3. Remove the shipping materials and tape from the microwave
oven.
4. Remove and set aside racks and other items from inside the
microwave oven.
5. Remove the hardware package from inside the bag
containing literature.
6. Move the microwave oven and cardboard close to the
microwave oven's final location.
INSTALLATION INSTRUCTIONS
Make Electrical Connection
WARNING
Electrical Shock Hazard
Disconnect power before servicing.
Use 12 gauge solid copper wire.
Electrically ground oven.
Failure to follow these instructions can result in death,
fire, or electrical shock.
This microwave oven is manufactured with a neutral (white)
power supply wire and a cabinet-connected green (or bare)
ground wire twisted together.
1. Disconnect power.
2. Feed the flexible cable conduit from the microwave oven
through the opening in the cabinet.
3. Remove junction box cover if it is present.
4. Install a UL listed or CSA approved conduit connector to the
junction box.
A
A. UL listed or CSA approved conduit connector
5. Route the flexible cable conduit from the microwave oven to
the junction box through a UL listed or CSA approved conduit
connector.
6. Tighten screws on conduit connector.
5
