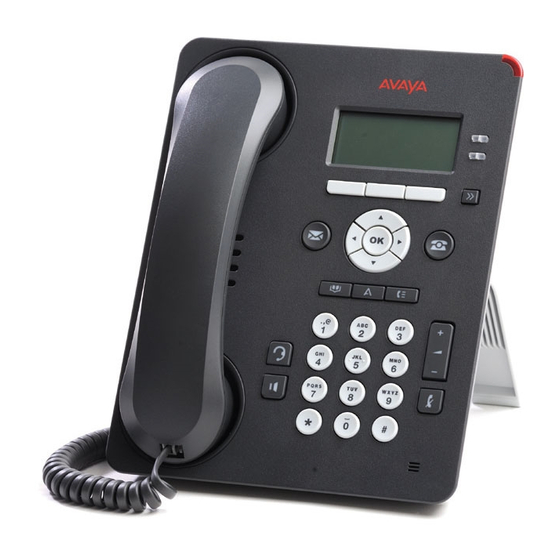
Avaya 9601 Hızlı Referans - Sayfa 6
Telefon Avaya 9601 için çevrimiçi göz atın veya pdf Hızlı Referans indirin. Avaya 9601 8 sayfaları. Ip deskphone sip
Ayrıca Avaya 9601 için: Hızlı Referans (5 sayfalar), Hızlı Referans (3 sayfalar)

Editing a contact
1. Press Contacts.
2. Search for and select the contact you want to edit.
3. Press More > Edit or Details > Edit.
4. Choose the field you want to edit.
5. Use the dial pad and softkeys to change the contact
information.
6. Press Save.
Call History
The History screen provides a list of recent calls, with
information about call types, such as missed, answered,
or outgoing. The information also provides the caller name
and caller number, call time, and call duration. The call log
can store up to 21 digits. You can also make a call from
the call log.
Note:
The phone displays the caller number only if available.
If you are a member of a call pickup group, the deskphone
shows calls that you picked up for another person or calls
that you missed and answered by someone with a
Forwarding icon. Using this feature, you can review details
of types of call pickup. When you have one or more
missed calls, the History button lights up and the top line
displays Missed Calls icon and the number of missed
calls.
If your administrator configured the Busy Station Call Log
feature, the deskphone saves all incoming calls that get a
busy treatment in the call log. An incoming call gets a
busy treatment when:
• All your call appearances are busy and you get an
incoming call.
• Your LNCC feature is active and you get an incoming
call while you are already on an active call.
• The Restrict Last Appearance parameter is set to
yes and you get an incoming call when all but one of
your call appearances are busy. The Restrict Last
Appearance parameter, if set to Yes, sets the last
available call appearance to originating calls only.
This setting enables transfer of any of the active
calls to another call appearance. If this parameter is
set to No, then all call appearances might be
occupied for incoming calls and you cannot transfer
any of the active calls.
The deskphone displays these calls as Missed calls in the
call log. The deskphone also lights up the History LED
and shows the missed calls on the top line.
Adding an entry from the call history to
your contacts list
1. Press Recents.
2. Select the number you want to add to your Contacts
list.
3. Press More, and then press +Contact.
4. If necessary, edit the name and telephone number.
5. Press Save.
Long-term acoustic exposure
protection
9600 Series IP Deskphones have the long-term acoustic
exposure protection, to protect the ears of the users from
the acoustic shocks. This feature reduces the loud volume
of the conversations on the phone call to permissible
acoustic limits. The user can set the permissible acoustic
limit to dynamic or predefined static values. In a dynamic
setting, the feature activates itself and gradually reduces
the loud volume of the phone conversations to prevent
from reaching the damaging decibel levels.
Long-term acoustic exposure protection feature satisfies
OSHA, ETSI and employee health safety requirements.
Important:
Only L100 Series Headsets with RJ9 connector
supports long-term acoustic exposure protection, when
the headset profile is set to Profile1.
Related links
Configuring Long term acoustic exposure protection
page 6
Configuring Long term acoustic
exposure protection
Use this procedure to configure the long-term acoustic
exposure protection feature for your headset to protect
from the acoustic exposure.
Ensure you set the headset profile to Profile1, and use
L100 Series Headsets.
1. Press Avaya Menu.
2. Scroll to Options & Settings, and press Select.
3. Scroll to Advanced Options, and press Select.
4. Scroll to Long Term Acoustic Exposure Protection,
and press Select.
5. Choose one of the following and press Select:
• Default
• Off
• Dynamic
• 8 hours
• 4 hours
Related links
Long-term acoustic exposure protection
Changing the language
1. Press Avaya Menu.
2. Press Main menu.
3. Select Options & Settings.
4. Press Select.
5. Press Select.
6. Select Language & Region.
7. Select Language.
8. Select a display language.
9. Press Select.
10. Press Yes to confirm the selected language.
Presence
Changing the presence status
The phone displays your presence status on the top line
that you can change manually.
1. Press Avaya Menu.
2. Press Select to select My Presence.
3. Scroll and press Select to choose any of the following
options:
on
• Automatic: To let the phone manage the presence
state.
• Available: To show you are available and open for
communication.
• Busy: To show you are busy.
• Away: To show you are away from the phone.
• Do not Disturb: To show you are not open for
communication.
• Out of Office: To show you are out of office.
• Offline: To appear invisible. The phone continues to
keep the presence subscriptions with the Presence
Server. The phone also keeps receiving
notifications for the contacts for whom the phone
subscribed to watch.
4. Press Save.
on page 6
6
