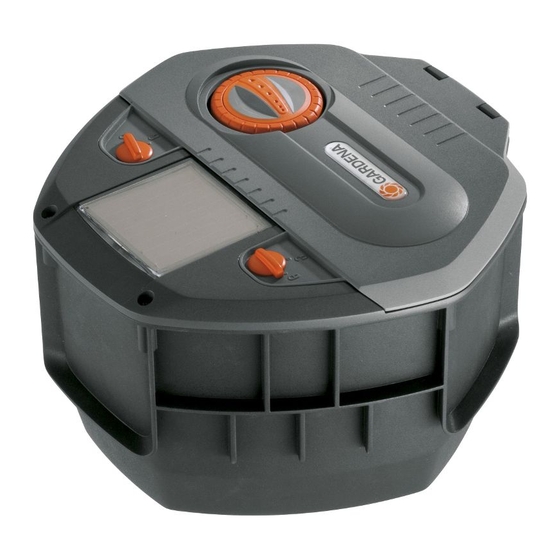
Gardena AquaContour automatic 1559 Kullanım Talimatları Kılavuzu - Sayfa 5
Sulama sistemi Gardena AquaContour automatic 1559 için çevrimiçi göz atın veya pdf Kullanım Talimatları Kılavuzu indirin. Gardena AquaContour automatic 1559 13 sayfaları. Large-area pop-up irrigation
Ayrıca Gardena AquaContour automatic 1559 için: Operatör El Kitabı (12 sayfalar), Operatör El Kitabı (13 sayfalar)

Programme contour points
of irrigation sector :
0
2
4
1
6
14
direction matches the required irrigation limits. If watering in
a complete circle, the two sector stops
completely pushed together between P1 and P10.
Anti-vandal device :
If the nozzle head is violently turned over the sector-stops then
the vandalism protection is triggered. As soon as the water
supply is open, the sprinkler moves in one direction until the set
sector has been achieved again.
The watering sector has to be selected before programming.
Up to 50 contour points can be programmed with the large-
area pop-up irrigation. The more points that are programmed,
the more precisely the contour will be described (e.g. with a
A
circular arc P7 – P10).
1. Open the two locks
2. Open water supply.
B
When using for the first time, the minimum range (2.5 m with
a flow pressure of 2 bar at the sprinkler) is selected.
3. Press OK button
4. Press Menu button
5. Turn the nozzle head
left-hand sector limit (in the example P1) and hold.
3
6. Use the two buttons "+" button
the range so that it reaches P1.
7. Press OK button
The green Auto LED
point P1 has been stored.
8. Turn the nozzle head
next irrigation point (e.g. P2) and hold.
9. Use the two buttons "+" button
the range so that it reaches P2 for example.
10. Press OK button
The green Auto LED
has been stored.
5
11. Repeat the process from step 8 to 10 until the right-hand
sector limit is reached (in the example P10).
12. Press Menu button
The red Set LED
the green Auto LED
then flashes every 8 seconds.
13. Release nozzle head
14. If the contour is watered correctly, close the water supply.
15. Close cover
Information about programming :
As soon as the first point is programmed, any existing
programme will be deleted. After programming has been
completed, no further points can be deleted or added later on.
If the contour has not been set as required, reprogramming
with more points will have to be carried out. If no button is
pressed for 60 seconds during programming, programming
will be automatically ended and the contour stored.
A
and raise the cover
4
. The green Auto LED
1
. The red Set LED
0
on the orange ring by hand to the
2
and "-" button
4
.
6
lights up for 1 second and the first
0
on the orange ring by hand to the
2
and "-" button
4
.
6
lights up for 1 second and the point
1
.
5
goes out, programming is complete, and
6
lights up for 1 minute. The red Set LED
0
and check contour area watered.
B
A
and both locks
.
z
z
and
must be
L
R
B
.
6
lights up.
5
lights up.
3
to set
3
to set
