Gardena 11120 Operatör El Kitabı - Sayfa 4
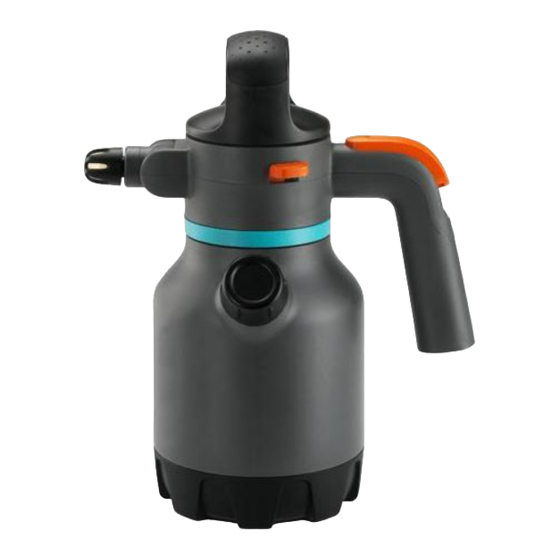
Boya Püskürtücü Gardena 11120 için çevrimiçi göz atın veya pdf Operatör El Kitabı indirin. Gardena 11120 5 sayfaları. 1,25 l
Ayrıca Gardena 11120 için: Operatör El Kitabı (4 sayfalar)
Operation:
CAUTION: The tank may only be filled with a maximum of 1.25 litres
liquid. Inspect the Pressure Sprayer visually before each use. Never leave your
Pressure Sprayer unattended or for long periods when full and pressurised.
Keep the unit out of the reach of children. You are responsible for the safety
of others. Keep your Pressure Sprayer away from heat sources and hot
environments. Screw on the spray nozzle
(7)
(Fig. O1) is positioned correctly.
and ensure that the O-ring
Cleaning:
Release the pressure after each use, empty the container, clean it carefully and
rinse with clear water. Then leave the pressure sprayer open and allow it to
dry. Do not dispose of residual fluids in the sewerage system (local disposal
systems). Always clean the Pressure Sprayer before using a different product
to avoid chemical reactions. When using several Pressure Sprayers, the tanks
and spray nozzle may not be exchanged between them. We recommend
that you have your Pressure Sprayer thoroughly inspected (preferably at
a GARDENA Service Centre) after using it for 5 years.
Storage:
Before storing, loosen the tank cap and always empty your Pressure Sprayer
completely (also after cleaning with water). Store away from frost.
Carry the pressure sprayer by the handle
2. OPERATION
Please observe the safety and proportioning instructions provided by the
manufacturer of the product you are going to spray.
To spray the liquid [Fig. O1/O2/O3 ]:
1. Push the safety relief valve
(6)
.
(1)
or the dosing cap
2. Unscrew the spray head
3. If necessary, fill in an additive via the dosing cap
(Scale
(12)
with 10 and 20 ml).
(1)
or dosing cap
4. Screw the spray head
(3)
5. Pump with the pump handle
.
6. Adjust the spray jet (clockwise rotation v spray mist; counterclockwise
rotation v spray jet) and the spray angle via the nozzle
(5)
7. Push the button
to spray the liquid.
3. MAINTENANCE
To clean the pressure sprayer:
Always clean your Pressure Sprayer after spraying. Use the Pressure Sprayer
only with clear water (possibly with addition of dish detergent) and spray empty.
The valves, the suction hose and the nozzle
outer dirtying of cover and tank, thoroughly clean the area thread and thread-
(7)
O-ring
.
4. STORAGE
To put into storage:
v Clean the pressure sprayer (see 3. MAINTENANCE).
5. TROUBLESHOOTING
To clean the filter [ Fig. O1 ]:
(10)
v Remove the filter
from the suction hose and clean it.
Problem
Possible Cause
Pump does not build up
Spray nozzle
pressure
too lightly screwed on.
Pump pipe
(7)
O-Ring
positioned.
Sealing cap
defective.
(4)
Pressure Sprayer does not
Nozzle
spray although there is
(10)
Filter
sufficient pressure or only
sprays with a weak spray jet
It is difficult to open and
Container pressure too high.
close the container
NOTE: For any other malfunctions please contact the GARDENA service
department.
4
(1)
tightly by hand (do not use tools)
(13)
and not by the pump handle
(11)
and fill the container
(11)
.
(11)
back onto the container.
(4)
.
(4)
are cleaned. In the case of
Remedy
(1)
(11)
or cap
v Screw on spray nozzle
or cap
(11)
on tighter.
(8)
is loose.
v Screw on pump pipe
tighter.
is not correctly
v Check correct position of
(7)
O-Ring
.
(9)
is dirty /
v Clean / exchange sealing
(9)
cap
.
is blocked.
v Unscrew nozzle
(10)
is clogged.
v Remove filter
suction hose and clean it.
v Release the container pres-
sure completely by means of
the safety relief valve
6. SERVICE / WARRANTY
(3)
.
(2)
.
(1)
(8)
(4)
and clean.
from the
(6)
.