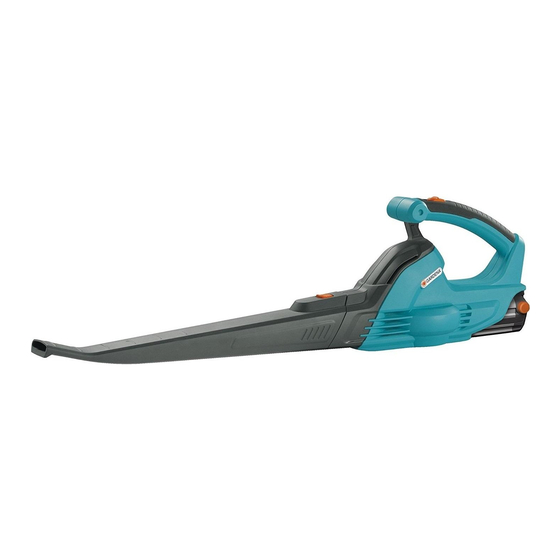
Gardena AccuJet 18-Li Kullanım Talimatları Kılavuzu - Sayfa 4
Üfleyici Gardena AccuJet 18-Li için çevrimiçi göz atın veya pdf Kullanım Talimatları Kılavuzu indirin. Gardena AccuJet 18-Li 10 sayfaları. Cordless blower
Ayrıca Gardena AccuJet 18-Li için: Kullanım Talimatları Kılavuzu (11 sayfalar)

3. Assembly
Fittingtheblowertube:
2
3
1. A lignthegroovesontheblowertube
bloweroutlet
1
2. P ushtheblowertubeontothebloweroutletuntilitsnapsinto
place;tubeissecuredtoblowerbytubereleasebutton
3. T oremovetheblowertube,pressthetubereleasebutton
whilepullingontube.
4. Initial Operation
Chargingthebattery:
Beforeusingforthefirsttime,thebatterymustbefullycharged.
Chargingtime(forunchargedbattery)see9.TechnicalData.
Whenchargingthebattery,onlyusetheGARDENAcharger,
art.no.8840-00.630.00,includedwithyourunit.
Thelithium-ionbatterycanbechargedinanystateofcharge,
andthechargingprocesscanbeinterruptedatanytimewithout
harmingthebattery(nomemoryeffect).
Sothatthefullychargedbatteryisnotdischarged,thebattery
4
shouldbedisconnectedfromthebatterycharger.
1. P ressthelockingbuttons
fromthehandle
2.Plugtheplugofthechargercable
5
3.Plugbatterycharger
6
18
WARNING:
Stop the unit and remove battery
before attempting to install or remove the
blower tube. Themotormustbestoppedandthe
impellerbladesnolongerturningtoavoidserious
injuryfromtherotatingblades.
withthegroovesonthe
1
.
2
3
WARNING:
Overvoltage damages batteries
and the battery charger.
Ensurethecorrectmainsvoltage.
inandremovethebattery
4
5
.
6
intothebattery
.
7
5
intoamainssocket.
8
.
3
5. Operation
WARNING:
flying debris and/or impeller contact which can cause serious injury.
Alwayswearglovesanduseeyeprotectiontopreventrocksordebrisfrombeing
blownorricochetingintotheeyesandfacewhichcanresultinblindnessorserious
injury.
Startingtheblower:
0
Charging indicator lamp lights up red:
The battery is being charged.
Charging indicator lamp lights up green:
The battery is fully charged.
(Forchargingtime,see9.TechnicalData)
4. F irstdisconnecttheplugofthechargingcablefromthebattery
andthenunplugthebatterychargerfromthemainssocket.
5.Pushthebatteryfrombottomontothehandle.
Avoid exhaustive discharge:
Donotwaituntiltheblowercomestoanabsolutestop
(batterytotallydischarged)asthisshortensthebatterylife.
Iftheoutputoftheblowerdecreasesnoticeably,chargethe
b attery.
Ifthebatteryhasbeentotallydischarged,theLEDwillflash
atthestartofcharging.IftheLEDisstillflashingafteranhour,
afaulthasoccurred(see8.Troubleshooting).
Do not use the unit without the tube properly attached to avoid
Switching the blower on:
1. P ushthebatteryontothehandle
(see4.InitialOperation).
2. M ovetheON/OFFswitch
totheON(I)position.
0
Switching the blower off:
1.MovetheON/OFFswitch
totheOFF(0)position.
0
2. R emovethebatteryfromthehandle
(see4.InitialOperation).
19
