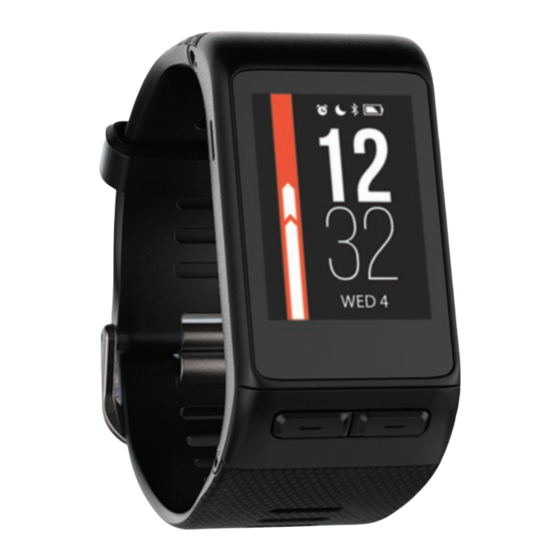
Garmin vivoactive HR Kullanıcı El Kitabı - Sayfa 13
İzle Garmin vivoactive HR için çevrimiçi göz atın veya pdf Kullanıcı El Kitabı indirin. Garmin vivoactive HR 24 sayfaları.

Track your progress: You can track your daily steps, join a
friendly competition with your connections, and meet your
goals.
Share your activities: You can connect with friends to follow
each other's activities or post links to your activities on your
favorite social networking sites.
Manage your settings: You can customize your device and
user settings on your Garmin Connect account.
Access the Connect IQ store: You can download apps, watch
faces, data fields, and widgets.
Using Garmin Connect Mobile
You can upload all of your activity data to your Garmin Connect
account for comprehensive analysis. With your Garmin Connect
account, you can view a map of your activity, and share your
activities with friends. You can turn on auto upload in the Garmin
Connect Mobile app.
1
From the Garmin Connect Mobile app settings menu, select
Garmin Devices.
2
Select your vívoactive HR device, and select Device
Settings.
3
Select the toggle switch to turn on auto upload.
Using Garmin Connect on Your Computer
If you have not paired your vívoactive HR device with your
smartphone, you can upload all of your activity data to your
Garmin Connect account using your computer.
1
Connect the device to your computer using the USB cable.
2
Go to www.garminconnect.com/start.
3
Follow the on-screen instructions.
Garmin Move IQ
™
Events
The Move IQ feature automatically detects activity patterns,
such as biking or running, for at least 10 minutes. You can view
the event type and duration on your Garmin Connect timeline,
but they do not appear in your activities list, snapshots, or
newsfeed. For more detail and accuracy, you can record a timed
activity on your device.
Customizing Your Device
Changing the Watch Face
You can use the default digital watch face or a Connect IQ
watch face
(Connect IQ Features, page
1
From the watch face, hold
2
Select Watch Faces.
3
Select an option.
Setting Up Your User Profile
You can update your gender, birth year, height, weight, wrist,
and heart rate zone
(Setting Your Heart Rate Zones, page
settings. The device uses this information to calculate accurate
training data.
Customizing Your Device
3).
.
1
Hold
.
2
Select Settings > User Profile.
3
Select an option.
App Settings
These settings allow you to customize your apps based on your
training needs. For example, you can customize data screens
and enable alerts and training features.
Customizing the Data Screens
You can customize data screens based on your training goals or
optional accessories. For example, you can customize one of
the data screens to display your lap pace or heart rate zone.
1
Select
.
2
Select an activity.
NOTE: This feature is not available for all activities.
3
Hold
.
4
Select the activity name at the top of the screen.
5
Select Data Screens.
6
Select a screen.
7
If necessary, select the toggle switch to enable the data
screen.
8
Select a data field to change it.
Changing the GPS Setting
By default, the device uses GPS to locate satellites. For
increased performance in challenging environments and faster
GPS position location, you can enable GPS and GLONASS.
Using GPS and GLONASS reduces battery life more than using
only GPS.
1
Select
.
2
Select an activity.
NOTE: This feature is not available for all activities.
3
Hold
.
4
Select the activity name at the top of the screen.
5
Select GPS > GLONASS.
Alerts
You can set alerts for each activity, which can help you to train
toward specific goals. Some alerts are available only for specific
activities.
Setting Range Alerts
A range alert notifies you when the device is above or below a
specified range of values. For example, you can set the device
to alert you when your heart rate is below zone 2 and over zone
5
(Setting Your Heart Rate Zones, page
1
Select
.
2
Select an activity.
NOTE: This feature is not available for all activities.
3
Hold
.
4
Select the activity name at the top of the screen.
5
Select Alerts > Add New.
6
Select the type of alert.
Depending on your accessories, the alerts may include heart
rate, pace, speed, and cadence.
7
If necessary, turn on the alert.
8
Select a zone or enter a value for each alert.
Each time you exceed or drop below the specified range, a
message appears. The device also vibrates if vibration is turned
on
(System Settings, page
2)
2).
11).
9
