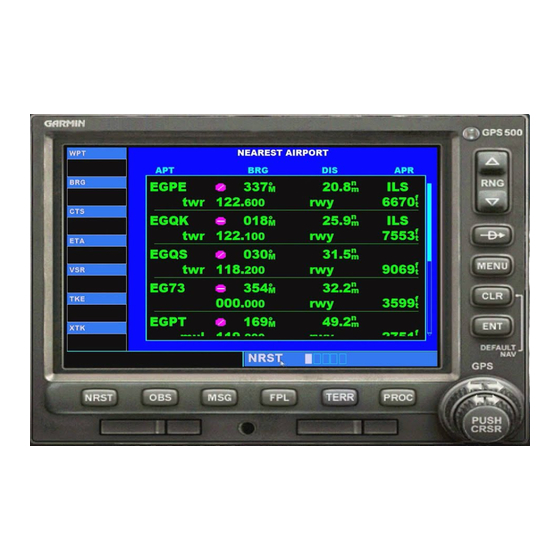
This assumes you already have a "direct to" airport loaded into your GPS. You are flying to
the airport ... but how do you approach it? The 500 has approach plans for all the airports in
the simulator. The GPS can give you an approach for any runway and lead you right to the
"numbers" on the runway. Unlike an ILS, you will have to control the altitude to get down to
the runway.
Let's use KSAV "direct" for our example. (Put KSAV into the 500, Direct)
Press the PROC button (6) and a screen comes up that has "Select Approach" lit.
•
Press ENT button (12) and a list of approaches for that airport comes up.
•
In our example, we'll choose GPS for Rwy 09. You do this by pressing the arrows on
•
the OUTSIDE cursor ring to light up RWY 09. When the correct feature is highlighted,
press ENT button (12).
◦ You can go to any of the way points that the approach uses, they will be listed for
you, but for our example, you leave "Vectors" highlighted. Select vectors by
pressing the ENT button (12)
▪ Now "Load or Activate" comes up. You use the INSIDE cursor ring (13) to
choose between the two. If you do "load" the GPS has the approach in memory,
but it is not active. If you choose Activate, then the new GPS course for the
approach is activated and if you are on autopilot, the plan begins tracking to the
approach you selected.
Note: When you look at your GPS, you will no longer see a route directly to the airport. What
you will see is the approach pattern and your aircraft is flying to the initial way point. Once that
way point is activated, the plan then turns to the next way point.
7.The Flight Plan Button (4)
When you enter a flight plan for your flight, for instance using Plan-G or VFR Flight, that plan
will be in your GPS. You can view the flight plan by pressing (4). Sometimes you will be
executing a flight, and you will have to stop and leave the computer or turn it off. When you
come back to restore where you were, the GPS will tend to start at the beginning. This can be
frustrating when you are halfway through a flight. The Garmin allows you to pick a start leg.
With a flight plan in the GPS, press FPL Button (4). The flight plan appears.
•
Press the Push Cursor button (15) and "Enroute" lights up at the top.
•
Press the INNER cursor ring (13) button twice, and your first way point is displayed.
•
Continue pressing the arrows on 13 until you are at the Leg you want to activate.
When the leg is highlighted, press the MENU (10) button and it will ask if you want to
•
activate the leg.
Press ENT (15) to activate the leg.
•
8. The MSG (3) button. When the MSG light is flashing, you can click the message button
and it will give you information. Mostly this will be warning you about being in or approaching
an airspace. If you are an advanced simmer, using all radio protocol, this can be very
important for you.
4

