Alke 61 Series Kullanım ve Kurulum Kılavuzu - Sayfa 2
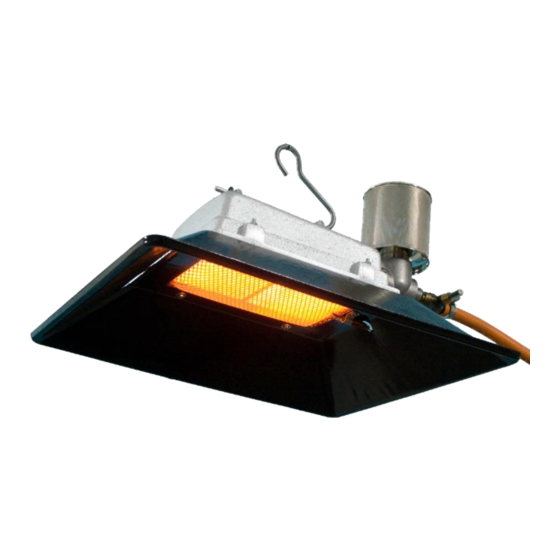
Isıtıcı Alke 61 Series için çevrimiçi göz atın veya pdf Kullanım ve Kurulum Kılavuzu indirin. Alke 61 Series 8 sayfaları. Atmospheric ceramic luminous infra-red heaters for use in well ventilated areas
Ayrıca Alke 61 Series için: Kullanım, Servis ve Kurulum Kılavuzu (13 sayfalar)

Before doing any maintenance, installation or service, first close the gas supply and wait till the gas heater
has cooled down.
Propane gas and natural gas are very flammable and are scented with a strong smell. If any gas smell is
noticed, immediately turn off the gas supply. Do not ignite or operate any gas heater in the area until the
leak has been found and repaired. Never strike any match or lighter or create any spark when you smell
gas. Immediately ventilate the building, open all doors, windows and air inlets. Call for your local qualified
gas installer to solve the leakage.
Check regularly with soapy water all gas carrying parts and connections on gas leaks.
Do not use any portion of the gas heater manifold, gas valve pressure regulator or gas line as a structural
support for the heater. Always use a galvanized support chain, and never rope or plastic materials.
Never operate the gas heater with a broken ceramic stone. Repair or replace it directly.
If a heater is not safe to use anymore, remove it so that nobody accidentally operates the heater. Store the
heater in a safe place, mark it that it cannot be used, and contact a service agent or gas installer to solve
the problem.
Thermostat
The thermostat knob TH is always delivered separated from the thermostat valve.
1) Remove the protection cover (if any) from the thermostat valve.
2) Turn the knob on maximum temperature and push the knob on the valve.
3) Fix the knob by turning the large metal screw ring till it stops (at least 2 turns, hand tight).
For thermostats TH with a remote sensor only: bend the sensor line carefully (no sharp bends) to the thermostat
valve and secure the sensor line with a ty-rap around the red protection lining and the thermocouple safety
device (see picture). Note that the tubing is hollow, a sharp bend will close the tubing and makes the sensor
worthless. The chance of breaking the line at the entrance of the thermostat knob is largely limited now.
Installation conditions
The gas heater has been produced and assembled in The Netherlands (Europe), using only high quality
materials. Your gas heater will provide a high degree of operational safety and a long working life. All gas heaters
are tested before leaving the factory. Therefore parts can be discoloured a bit due to the heat during testing.
The gas heater is ready to operate and needs no further adjustment or assembly anymore. Please note that
safe and proper working cannot be guaranteed anymore when alterations are made to the gas heater or non-
original components are used. This is dangerous and forbidden to do.
The heater is intended for use in well ventilated areas only. Do not install the heater in situations that are not
well ventilated. Check also your local regulations for the ventilation and room size requirements. The amount of
heaters per building depends on the type of building, the animals, the insulation, the climate and local wind
conditions. Check with your installer or distributor for a calculation to determine the amount of heaters needed.
Check the data plate on the gas heater and check if the gas supply and gas pressure regulator are in
correspondence with it. Never use it on other gases or pressures. Always connect the gas heater to the gas
supply using an approved gas hose. Never use water hoses! Always secure the gas hose with hose clips. Make
sure that the gas hose, gas lines, electric lines, lamps, etc. are not heated by the gas heater. If more gas heaters
are connected to one gas pipe system, make sure that the pipe is large enough to maintain the correct gas
pressure for all heaters in operation. Consult a qualified gas installer to calculate the pipe dimensions needed.
Never use LPG appliances below ground level.
Version: jan 2011
2
Manual number: 0009 0520EN
