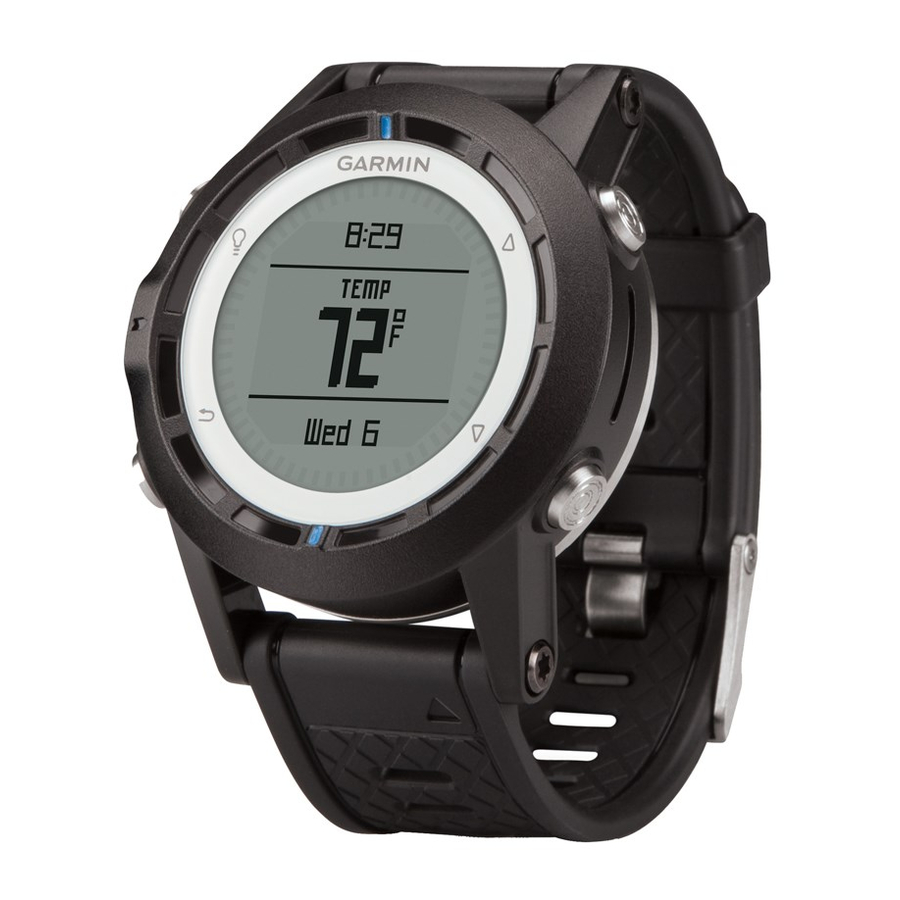
Garmin quatix Kullanıcı El Kitabı - Sayfa 13
Deniz GPS Sistemi Garmin quatix için çevrimiçi göz atın veya pdf Kullanıcı El Kitabı indirin. Garmin quatix 22 sayfaları. Gps watch
Ayrıca Garmin quatix için: Uygunluk Beyanı (6 sayfalar), Hızlı Başlangıç Kılavuzu (6 sayfalar), Ürün Bilgileri (44 sayfalar)

5
Select an option:
• Select Set Course to navigate to the distant object.
• Select Project
(page
6
Navigate using the compass
Calculating the Size of an Area
Before you can calculate the size of an area, you must acquire
satellites
(page
2).
1
Select the blue key.
2
Select GPS Tools > Area Calc..
3
Walk around the perimeter of the area you want to calculate.
4
When you are finished, select the blue key to calculate the
area.
5
Select an option:
• Select Save Track, enter a name, and select Done.
• Select Change Units to convert the area to a different
unit.
• Select
to exit without saving.
Viewing the Almanacs
You can view almanac information for the sun and moon, and
hunting and fishing.
1
Select the blue key.
2
Select an option:
• To view the sunrise, sunset, moonrise, and moonset
information, select GPS Tools > Sun & Moon.
• To view the predicted best times for hunting and fishing,
select GPS Tools > Hunt & Fish.
3
If necessary, select
or
Viewing Satellite Information
The satellite page shows your current location, GPS accuracy,
satellite locations, and signal strength.
1
Select the blue key.
2
Select Start GPS.
3
Select the blue key.
4
Select GPS Tools > Satellite.
5
Select
to view additional information.
Simulating a Location
When you are planning routes or activities in a different area,
you can turn off GPS and simulate a different location.
1
Select the blue key.
2
Select Setup > System > GPS Mode > Demo Mode.
3
Select a location.
4
Select Go > Move to Location.
ANT+™ Sensors
The device is compatible with these optional, wireless ANT+
accessories.
• tempe™ wireless temperature sensor
• Heart rate monitor
For information about compatibility and purchasing additional
sensors, go to http://buy.garmin.com.
Pairing ANT+ Sensors
Pairing is the connecting of ANT+ wireless devices, for
example, connecting a tempe temperature sensor with your
Garmin device.
ANT+™ Sensors
3).
(page
2) or map
(page
to view a different day.
(page
10)
1
Bring the device within range (3 m) of the sensor.
NOTE: Stay 10 m away from other ANT+ sensors while
pairing.
2
Select the blue key.
5).
3
Select Setup > ANT Sensor.
4
Select your sensor.
5
Select New Search.
When the sensor is paired with your device, the sensor
status changes from Searching to Connected. Sensor data
appears in the data page loop or a custom data field.
Tips for Pairing ANT+ Accessories with Your Garmin
Device
• Verify that the ANT+ accessory is compatible with your
Garmin device.
• Before you pair the ANT+ accessory with your Garmin
device, move 10 m (32.9 ft.) away from other ANT+
accessories.
• Bring the Garmin device within range 3 m (10 ft.) of the
ANT+ accessory.
• After you pair the first time, your Garmin device automatically
recognizes the ANT+ accessory each time it is activated.
This process occurs automatically when you turn on the
Garmin device and only takes a few seconds when the
accessories are activated and functioning correctly.
• When paired, your Garmin device receives data from only
your accessory, and you can go near other accessories.
Streaming NMEA 2000 Data
While tracking or navigating, your device can stream data from
a NMEA 2000 network equipped with a Garmin GNT.
1
Select the blue key.
2
Select Setup > ANT Sensor > GNT > On.
The data pages display information from the sensors
connected to the NMEA 2000 network. You can customize
the data fields that appear on each data page.
3
Select
twice.
4
Select Stream N2K to begin streaming NMEA 2000 data.
To stop streaming NMEA 2000 data, select the blue key, and
select Stop N2K.
Using Automatic Man Overboard
If your device is connected to a Garmin GNT, you can set the
device to automatically trigger the preset man overboard
function if the device loses contact with a GNT for more than 10
seconds.
1
Select the blue key.
2
Select Auto MOB > On.
When the device loses contact with a GNT for more than 10
seconds, the man overboard function is activated on the
device and on all Garmin chartplotters connected to the
NMEA 2000 network. A man overboard waypoint is created
on the chartplotter and on the device.
3
Select an option:
• To acknowledge the man overboard activation and save
the MOB waypoint, select Confirm.
• To dismiss the man overboard activation in the case of
accidental triggering, select Clear.
• To dismiss the man overboard activation and turn off the
automatic man overboard function, select Disable.
9
