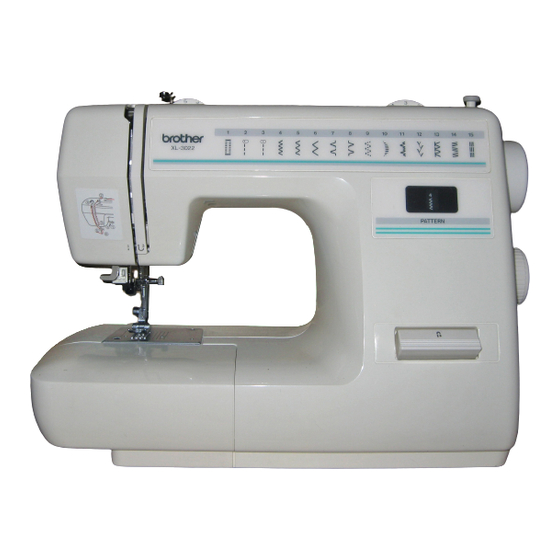
Brother XL3022 Kullanım Kılavuzu - Sayfa 6
Dikiş Makinesi Brother XL3022 için çevrimiçi göz atın veya pdf Kullanım Kılavuzu indirin. Brother XL3022 8 sayfaları.

CONOZCA SU MAQUINA DE COSER 19 T ensi o n de los hilos La tensi o n de los hilos afectar a la
calidad de las puntadas puede requerir cierto ajuste cuando cambia de tejido o hilo. NOTA Le
recomendamos hacer una prueba en un pedazo de tela antes de empezar a coser en el tejido de
trabajo.
Page 25 21 KNOWING YOUR SEWING MACHINE CONOZCA SU MAQUINA DE COSER 20 D Tensi o
n correcta Es ecesario tener una tensi o n correcta dado que una tensi o n insuficiente o demasiado
fuerte va a debilitar sus costuras o fruncir el tejido. Page 26 22 KNOWING YOUR SEWING
MACHINE CONOZCA SU MAQUINA DE COSER 21 NOTA 1. Elija la aguja y el hilo correctos en la
tabla arriba. 2. Utilice el mismo tama n o de hilo para los hilos superior e inferior carrete y canilla.
Algod o n 80 9 Sint e tico Algod o n Mercer i a fina. Page 27 23 14 Straight Stitching Pattern Stitch
Length 1 Left needle position 2 Center needle position 12 Triple Stretch Stitch Fixed 2.5 Starting
Sewing 1. Turn the Pattern Selection Dial to show your desired stitch on the Pattern Indication
Window. Set the Pattern Selection Dial to 1, 2 or 12 for the type of Straight Stitch required. Page 28
24 Changing Sewing Direction 1. Stop the machine at the point where you wish to change directions
with the needle still in the fabric. 2. Raise the presser foot and turn the fabric to line up its new
direction using the needle as a turning point. 3. Lower the presser foot and start sewing in the new
direction. Page 29 25 Removing the Material from the Machine 1. Stop the machine. 2. Raise the
needle to its highest position and make sure that the thread takeup lever is also in its highest
position. 3. Lift the presser foot and pull the fabric out gently to the left side. Page 33 29 28 Puntada
por encima de la orilla Numero de puntada Largo de puntada 9 Puntada Overlock Elastica Fija 2,5
La puntada overlock elastica permite juntar costuras y acabarlas en una sola operacion. Esta
puntada resulta muy util en la costura de tejidos elasticos. Page 34 30 29 Elastic Stitching Pattern
Stitch Length 10 Elastic Stitch F2.5 The Elastic Stitch can be used for 3 functions mending, sewing
elastic or joining fabric. Each is explained below. Set the Pattern Selection Dial to 10. MENDING 1.
Set the Stitch Length Dial between F and 2.
Page 35 31 30 T riple Zigzag Stretch Stitching Pattern Stitch Length 11 Triple Zigzag Stretch Stitch
Fixed 2.5 This stitch can be used to sew heavyweight stretch fabrics wherever a Zigzag Stitch could
be used. The Triple Zigzag Stretch Stitch can also be used as a decorative top stitch. Page 36 32 31
Making a Buttonhole Pattern Stitch Length Foot a bc d F1.5 Buttonhole foot NOTE 1. It is
recommended to practice making a button hole on a scrap piece of fabric before attempting it on the
actual garment. 2. When making buttonholes on soft fabrics, place stabilizer material on the
underside of the fabric. Page 37 33 a b a b c d ac a c b ac a c d b c d ac a c ac a c d 32 Cosido de un
ojal Pasos Zona de cosido Dise n o Como coser 1. Ponga el selector de diseno en a. 2. Baje el
prensatelas y cuesa 5 o 6 puntadas. 3. Pare la maquina cuando la aguja se encuentre a la izquierda
de las puntadas y levantela del tejido. Page 38 34 33 SECURING THE STITCHING AND CUTTING
THE BUTTONHOLE 1. To secure the stitching, turn the material 90 degrees counterclockwise and
sew Straight Stitches 2 to the end of the front bar tack of the buttonhole. 2. Remove the material
from the machine. Page 39 35 34 1 Left row 2 STITCH LENGTH 3 Shorter 4 Longer 5 In case 3.
After obtaining a satisfactory feeding on the left side, stitch the right side of the buttonhole and
observe the feeding. 4. If the right side is too coarse or fine compared to the left side, adjust the
buttonhole fine adjustment screw as described below. Page 40 36 Button Sewing Foot 35 Button
Sewing Pattern Stitch Length Foot Other 3,4 or 5 Any Darning Plate 1. Measure the distance
between the holes and select the appropriate pattern using the Pattern Selection Dial. When sewing
the right side of the zipper, attach the shank to the left pin of the zipper foot. Page 42 38 Gathering
Pattern Stitch Length 24 1. Set the Pattern Selection Dial to 2. 2.
Loosen the tension of the upper thread to about 2 so that the lower thread lies on the underside of
the material. 3. Sew a single row or multiple rows of Straight Stitches. Page 43 39 AB 38 6. Repita la
operaci o n hasta que el zurcido se haya completado creando unas cuantas l i neas de puntadas
