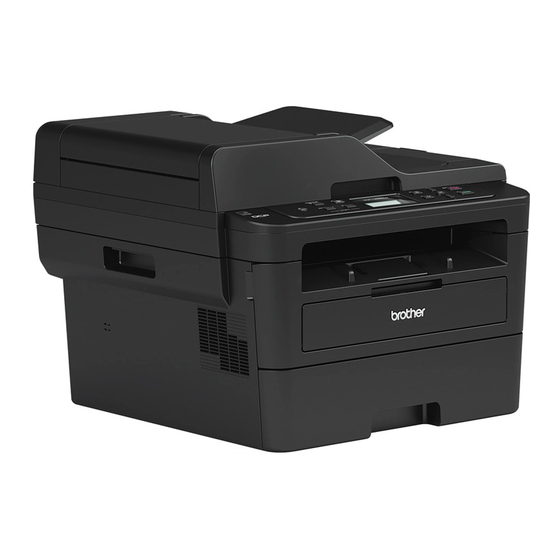
Brother DCP-L2550DN Referans Kılavuzu - Sayfa 14
Yazıcı Brother DCP-L2550DN için çevrimiçi göz atın veya pdf Referans Kılavuzu indirin. Brother DCP-L2550DN 23 sayfaları. Brief explanations for routine operations
Ayrıca Brother DCP-L2550DN için: Hızlı Kurulum Kılavuzu (2 sayfalar), Hızlı Kurulum Kılavuzu (2 sayfalar), Hızlı Kurulum Kılavuzu (2 sayfalar)

- 1. The Online User's Guide Helps You Get the most out of Your Machine
- 2. Questions or Problems? Take a Look at Our Faqs, Solutions, and Videos Online
- 3. General Information
- 4. Control Panel Overview
- 5. Touchscreen LCD Overview
- 6. How to Navigate the Touchscreen LCD
- 7. Load Paper in the Paper Tray
- 8. Load Paper in the Manual Feed Slot
- 9. Troubleshooting
- 10. Identify the Problem
- 11. Error and Maintenance Messages
- 12. Document and Paper Jams
- 13. Solutions for Wireless Connection
6.
[Shortcuts]
Press to create Shortcuts for frequently-
used operations, such as sending a fax,
making a copy, scanning and using Web
Connect.
• Three Shortcuts screens are available
with up to four Shortcuts on each
Shortcuts screen. A total of 12
Shortcuts are available.
• To display the other Shortcuts screens,
press d or c.
Stored Fax(es)
The number of received faxes in memory
appears at the top of the screen.
Press
, and then press [Yes] to print
the faxes.
Warning icon
The warning icon
is an error or maintenance message; press
the message area to view it, and then
press
to return to Ready Mode.
appears when there
NOTE
• This product adopts the font of ARPHIC
TECHNOLOGY CO., LTD.
How to Navigate the
Touchscreen LCD
Related Models:
MFC-L2730DW/MFC-L2750DW
Press your finger on the LCD to operate it. To
display and access all the options, press d c
or a b on the LCD to scroll through them.
The following steps explain how to navigate
through changing a machine setting. In this
example, the LCD Backlight setting is
changed from [Light] to [Med].
IMPORTANT
DO NOT press the LCD with a sharp object
such as a pen or stylus. It may damage the
machine.
NOTE
DO NOT touch the LCD immediately after
plugging in the power cord or turning on the
machine. Doing this may cause an error.
1
Press
([Settings]).
2
Press [All Settings].
13
