Fujitsu FI 6140 - Document Scanner Başlarken - Sayfa 10
Tarayıcı Fujitsu FI 6140 - Document Scanner için çevrimiçi göz atın veya pdf Başlarken indirin. Fujitsu FI 6140 - Document Scanner 23 sayfaları. Image scanner
Ayrıca Fujitsu FI 6140 - Document Scanner için: Kurulum Prosedürleri Kılavuzu (6 sayfalar), Teknik Özellikler (2 sayfalar), Başlangıç Kılavuzu (20 sayfalar), Kullanım Kılavuzu (10 sayfalar), Temizlik Talimatları (2 sayfalar)
2.2 Connecting the Scanner to Your
PC
Connect either with the USB cable or the SCSI cable.
supported for the fi-6140/fi-6240 only.
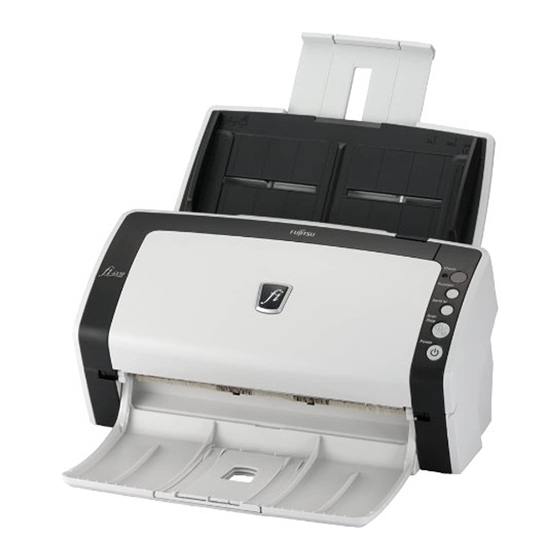
This scanner is provided with two interfaces: Ultra SCSI and
USB 2.0 /1.1. Connect only one of the USB or SCSI cable.
■ Connecting with the USB Cable
1.
Connect the USB cable to the USB connector.
2.
Connect the other end of the USB cable to the PC.
•
Be sure to use the USB cable which comes as an
accessory with this scanner.
Scanning operation with commercially available cables is
not guaranteed.
•
When connecting to an USB hub, use the first stage USB
hub that is closest to the computer. If you use the second
or later hub stages, the scanner may not operate
correctly.
•
If you connect the scanner with USB 2.0, it is required
that the USB port and Hub are compliant with USB 2.0.
The scanning speed may slow down if it is connected
with USB1.1.
■ Connecting with the SCSI Cable
When using the scanner with a SCSI interface, the following
SCSI cable and SCSI card must be purchased.
•
SCSI cable:
Use a cable which complies with a 50 Pin Contact
Shielded High-Density SCSI Device Connector for
Ultra SCSI.
•
SCSI card:
Find the recommended SCSI card information in the
Fujitsu web site (FAQ).
http://imagescanner.fujitsu.com/
•
After connecting the SCSI cable, turn the scanner on.
•
In a SCSI daisy chain formation, connect the scanner so
that it is the terminated device.
1.
Insert the SCSI cable into the SCSI connector of the
scanner until both sides click.
SCSI is
2.
Connect the other end of the cable to your
computer.
Be careful not to bend the pins of the SCSI connector when
connecting to the scanner.
The SCSI ID initially set at the factory is [5]. If the SCSI ID of
another SCSI device is set to the same ID, either change the
scanner's SCSI ID or SCSI ID of the other SCSI device. For
details on how to change the SCSI ID, refer to "Setting the
SCSI ID" in this section (
■ Setting the SCSI ID
The factory initial setting for SCSI ID is [5].
1.
Press the Power button at least for two seconds to
turn off the scanner.
2.
Set the SCSI ID using the SCSI ID switch on the
back of the scanner.
ID No.
0 to 7
8, 9
3.
Press the Power button to turn on the scanner.
When the scanner is turned ON, the SCSI ID set at
Step 2 is enabled.
4
page 4).
5
Click
Description
Can be set as the ID
Works with the factory default value
(SCSI ID = 5).