Brother Business Smart MFC-J4510dw Hızlı Kurulum Kılavuzu - Sayfa 11

Yazdırma Sunucusu Brother Business Smart MFC-J4510dw için çevrimiçi göz atın veya pdf Hızlı Kurulum Kılavuzu indirin. Brother Business Smart MFC-J4510dw 47 sayfaları. Quick setup guide - spanish
Ayrıca Brother Business Smart MFC-J4510dw için: Manuel (36 sayfalar), Manuel (22 sayfalar), Ürün Güvenlik Kılavuzu (17 sayfalar), Manuel (13 sayfalar), Manuel (22 sayfalar), Hızlı Kurulum Kılavuzu (47 sayfalar), Manuel (18 sayfalar), Hızlı Kurulum Kılavuzu (47 sayfalar), Broşür ve Teknik Özellikler (4 sayfalar), Ürün Güvenlik Kılavuzu (20 sayfalar), Teknik Özellikler (2 sayfalar), Hızlı Başlangıç Kılavuzu (29 sayfalar), Ürün Güvenlik Kılavuzu (25 sayfalar), (İspanyolca) Guia De Web Connect Kılavuzu (38 sayfalar), (İspanyolca) El Kitabı (24 sayfalar), (İngilizce) Ürün Güvenlik Kılavuzu (16 sayfalar), (İspanyolca) El Kitabı (11 sayfalar), (İngilizce) Hızlı Yapılandırma Kılavuzu (47 sayfalar)
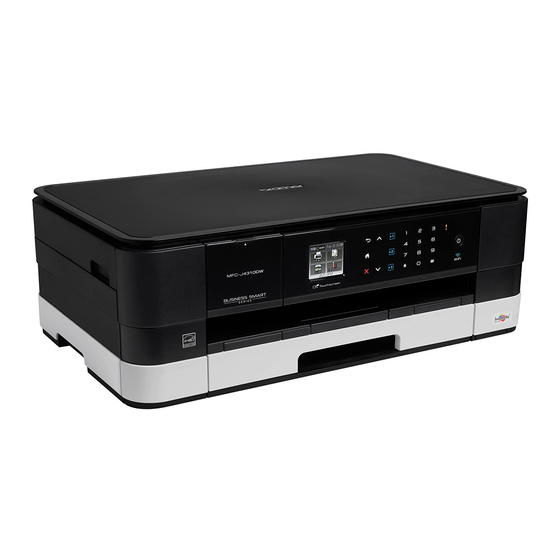
Brother Business Smart MFC-J4510dw Hızlı Kurulum Kılavuzu
11
Fax Transmission Report
Your Brother machine is equipped with a
Transmission Verification Report that can be used as
confirmation that you sent a fax. This report lists the
name or fax number of the receiving party, the date,
time, and duration of the transmission, the number of
pages transmitted, and whether or not the
transmission was successful.
Instructions on using this feature uuBasic User's
Guide: Transmission Verification Report
12
Set Tone or Pulse dialling
mode (Not available in
New Zealand)
Your machine comes set for Tone dialling service. If
you have a Pulse dialling service (rotary), you need to
change the dialling mode.
a
Press
.
b
Press All Settings.
c
Swipe up or down, or press a or b to display
Initial Setup.
Press Initial Setup.
d
Press Tone/Pulse.
e
Press Pulse (or Tone).
f
Press
.
13
Set the telephone line
compatibility (VoIP)
If you are connecting the machine to a VoIP service
(over the Internet) we recommend that you change
the modem speed to minimize errors in fax
operations.
NOTE
If you are using an analogue telephone line you
can skip this step.
a
Press
.
b
Press All Settings.
c
Swipe up or down, or press a or b to display
Initial Setup.
Press Initial Setup.
d
Swipe up or down, or press a or b to display
Compatibility.
Press Compatibility.
e
Press Basic(for VoIP).
f
Press
.
11