Brother Business Smart MFC-J4510dw Hızlı Kurulum Kılavuzu - Sayfa 35

Yazdırma Sunucusu Brother Business Smart MFC-J4510dw için çevrimiçi göz atın veya pdf Hızlı Kurulum Kılavuzu indirin. Brother Business Smart MFC-J4510dw 47 sayfaları. Quick setup guide - spanish
Ayrıca Brother Business Smart MFC-J4510dw için: Manuel (36 sayfalar), Manuel (22 sayfalar), Ürün Güvenlik Kılavuzu (17 sayfalar), Manuel (13 sayfalar), Manuel (22 sayfalar), Hızlı Kurulum Kılavuzu (47 sayfalar), Manuel (18 sayfalar), Hızlı Kurulum Kılavuzu (47 sayfalar), Broşür ve Teknik Özellikler (4 sayfalar), Ürün Güvenlik Kılavuzu (20 sayfalar), Teknik Özellikler (2 sayfalar), Hızlı Başlangıç Kılavuzu (29 sayfalar), Ürün Güvenlik Kılavuzu (25 sayfalar), (İspanyolca) Guia De Web Connect Kılavuzu (38 sayfalar), (İspanyolca) El Kitabı (24 sayfalar), (İngilizce) Ürün Güvenlik Kılavuzu (16 sayfalar), (İspanyolca) El Kitabı (11 sayfalar), (İngilizce) Hızlı Yapılandırma Kılavuzu (47 sayfalar)
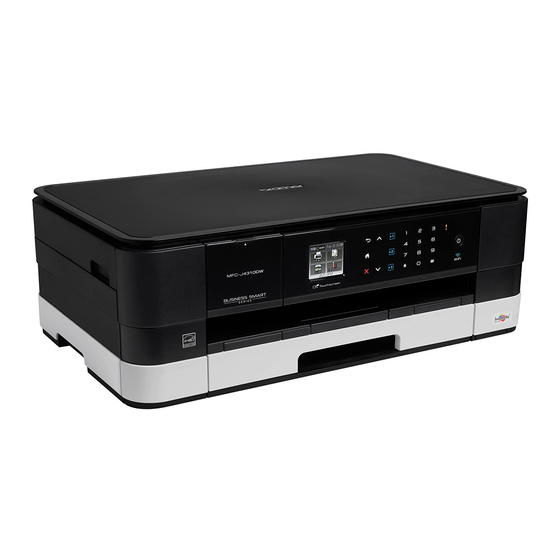
Brother Business Smart MFC-J4510dw Hızlı Kurulum Kılavuzu
For Wireless Network Users
One-push setup using
18
WPS or AOSS™
(Windows
a
Confirm your wireless access point/router has
the WPS or AOSS™ symbol as shown below.
b
Place the Brother machine within range of your
WPS or AOSS™ access point/router. The
range may differ depending on your
environment. Refer to the instructions provided
with your access point/router.
c
Press
.
Press WPS/AOSS.
When Switch Network interface to
wireless? is displayed, press Yes to accept.
This will start the wireless setup wizard.
To cancel, press No.
NOTE
If your wireless access point/router supports WPS
(PIN Method), you can also configure your
machine using the PIN (Personal Identification
Number) Method. uuNetwork User's Guide:
Configuration using the PIN Method of WPS
(Wi-Fi Protected Setup)
d
When the Touchscreen shows to start WPS or
AOSS™, press the WPS or AOSS™ button on
your wireless access point/router. See the
user's guide of your wireless access
point/router for instructions.
Then press OK and your machine will now
automatically detect which mode (WPS or
AOSS™) your wireless access point/router
uses and try to connect to your wireless
network.
®
& Macintosh)
e
A connection result message appears for
60 seconds on the Touchscreen and a WLAN
report will automatically be printed.
If the connection failed, check the error code on
the printed report and refer to Troubleshooting
on page 36.
Wireless setup is now complete. The
Wi-Fi button at the upper right of the
Touchscreen changes to a four-level
indicator that displays the wireless signal
strength of your access point/router.
The Wi-Fi LED
lights up, indicating that the machine's
Network I/F is set to WLAN.
To install MFL-Pro Suite, continue to
step 19.
®
For Windows
users:
Now go to
Page 38
For Macintosh users:
Now go to
Page 41
on the control panel
35