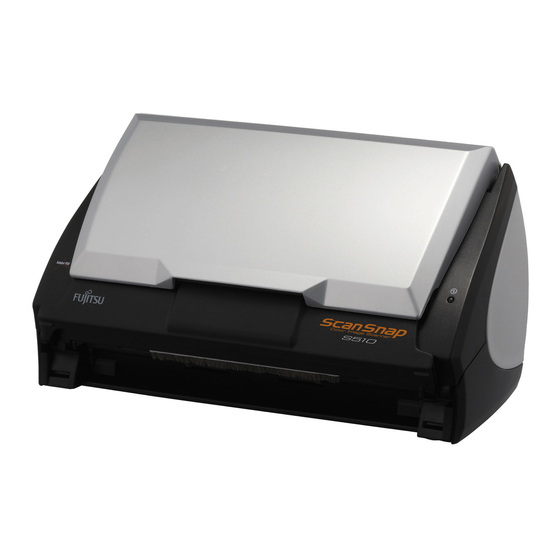
Turn off the scanner before cleaning the
following locations.
Pad ASSY (x1)
Clean the Pad ASSY downward. When cleaning the
Pad ASSY, take care to prevent the cloth from
catching on the metal parts.
Glass
(x2 on the ADF and the opposite side)
Clean lightly.
Pick roller (x1)
Clean lightly taking care not to scratch and damage
the surface of the roller. Take particular care in
cleaning the Pick roller as black debris on the roller
adversely affects the pickup performance.
Plastic rollers (x4 on the ADF cover)
Clean them lightly while rotating the rollers with
your fingers. Take care not to roughen the surface of
the rollers. Take particular care in cleaning the
plastic rollers, as black debris on the rollers
adversely affects the pickup performance.
Turn on the scanner before cleaning the
following locations. Clean the following rollers,
while rotating them.
Feed rollers (x2)
Clean the rollers lightly taking care not to roughen
the surface of the rollers. Take particular care in
cleaning the feed rollers, as black debris on the
rollers adversely affects the pickup performance.
Eject rollers (x2)
Clean the rollers lightly taking care not to roughen
the surface of the rollers.
Take particular care in cleaning the eject rollers, as
black debris on the rollers adversely affects the
pickup performance.
To rotate the feed rollers and the eject rollers, press
the [POWER] button while holding down the [SCAN]
button.
As a guideline, six presses of the [POWER] button
and [SCAN] button simultaneously make the rollers to
rotate one full turn.
スキャン
22
While holding down
the [SCAN]
button...
...press the
[POWER] button.
Connect the AC adapter and AC cable
only when cleaning the Feed rollers and
the Eject rollers.
3.
Close the ADF.
ADF
When you closed the ADF, make sure that it
is completely closed. Otherwise, paper jams
or other feeding troubles may occur.
5.4. Cleaning the Carrier Sheet
If the Carrier Sheet is used extensively, dirt and dust may
stick onto the surface or the interior and cause scanning
errors. Clean it regularly.
<Cleaning method>
Use a dry, soft cloth, or a soft cloth slightly moistened with
Cleaner F1 or a mild detergent to lightly clean off the dirt
and dust from the surface and the interior of the Carrier
Sheet.
Never use paint thinner or other organic
●
solvents.
Do not rub too hard. Otherwise, the Carrier
●
Sheet may be scratched or be deformed.
After cleaning the interior of the Carrier
●
Sheet with Cleaner F1 or a mild detergent,
dry the Carrier Sheet completely before
closing it.
As a guideline, it is recommended to replace
●
the Carrier Sheet every 500 scans.
Refer to "6.4. Purchasing the Carrier
Sheet" for details on purchasing a Carrier
Sheet.

