Fujitsu ETERNUS DX200 S3 Kurulum Kılavuzu - Sayfa 9

Depolama Fujitsu ETERNUS DX200 S3 için çevrimiçi göz atın veya pdf Kurulum Kılavuzu indirin. Fujitsu ETERNUS DX200 S3 15 sayfaları. Hybrid storage systems, all-flash arrays, power synchronized unit
Ayrıca Fujitsu ETERNUS DX200 S3 için: Yapılandırma Kılavuzu Sunucu Bağlantısı (12 sayfalar), Yapılandırma Kılavuzu Sunucu Bağlantısı (12 sayfalar), Yapılandırma Kılavuzu (28 sayfalar), Yapılandırma Kılavuzu (13 sayfalar), Yapılandırma Kılavuzu (18 sayfalar), Güvenlik Önlemleri (12 sayfalar)
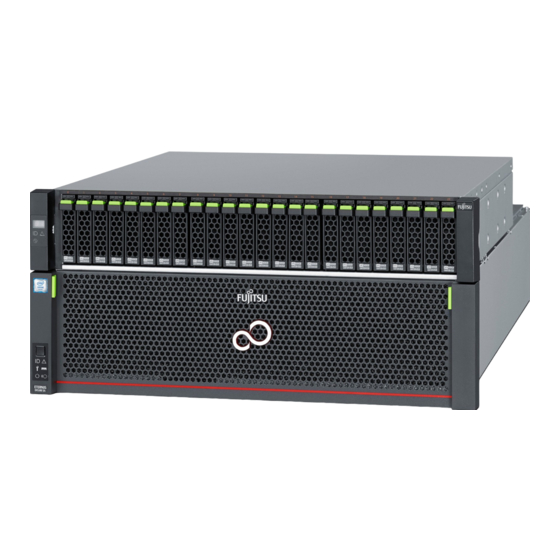
Fujitsu ETERNUS DX200 S3 Kurulum Kılavuzu
ETERNUS Web GUI Startup
3
1.
Open the Web browser on the PC terminal.
2.
Enter the following URL in the address bar of the Web
browser.
http://192.168.1.1/
The login screen for ETERNUS Web GUI appears.
3.
To change the user interface language, click the
[Option] button and select "English" or "Japanese" in
"Language".
4.
Enter the username and password.
Username: root
Password: root (by default)
After logging in, the Initial Setup screen of ETERNUS Web GUI appears.

Initial Setup

4
Perform the settings that are required before operation of the ETERNUS DX on the Initial Setup screen.
Perform the following settings according to the wizard
screen:
Set Storage System Name
Change User Password
Set Thin Provisioning
Register SED Authentication Key
Setup Network Environment
In the Setup Network Environment settings, set the IP
address of the MNT port to connect the ETERNUS DX to
the operation management LAN.
Make sure to set up the network
IMPORTANT
environment for the MNT port.
If the network environment for the MNT
port is not set up, some functions will be
unusable.
After the settings are complete, close the Web browser.
FUJITSU Storage ETERNUS DX100 S3/DX200 S3 Hybrid Storage Systems Setup Guide
9
Copyright 2017 FUJITSU LIMITED
P3AM-7852-06ENZ0