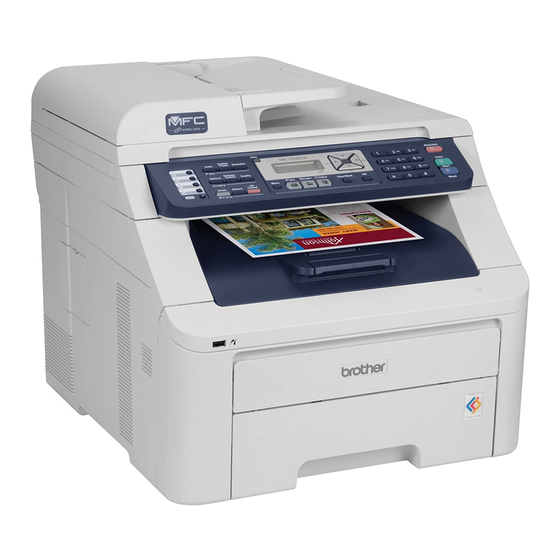
Brother MFC-9320CW Hızlı Kurulum Kılavuzu - Sayfa 33
Yazdırma Sunucusu Brother MFC-9320CW için çevrimiçi göz atın veya pdf Hızlı Kurulum Kılavuzu indirin. Brother MFC-9320CW 49 sayfaları. Vista network connection repair instructions
Ayrıca Brother MFC-9320CW için: Teknik Özellikler (6 sayfalar), Hızlı Kurulum Kılavuzu (47 sayfalar), Bağlantı Kılavuzu (6 sayfalar)

For Wireless Network Users
Manual configuration from the control panel
17
Configure the wireless
settings
a
On your machine, press Menu, 7 (Network), 2
(WLAN), 2 (Setup Wizard).
Press 1 to choose On.
b
The machine will search for available SSIDs. If
a list of SSIDs is displayed, use a or b to
choose the SSID you wrote down in step 16-b
on page 29, then press OK. Go to step f.
Note
It will take several seconds to display a list of
available SSIDs.
If your access point is set to not broadcast the
SSID you will have to manually add the SSID
name. Go to step c.
c
Press a or b to choose <New SSID> and press
OK. Go to step d.
d
Enter the SSID you wrote down in step 16-b on
page 29 using the dial pad to choose each
letter or number.
You can use d and c to move the cursor left and
right. For example, to enter the letter a, press
the 2 key on the dial pad once. To enter the
number 3, press the 3 key on the dial pad
seven times.
The letters appear in this order: lower case,
upper case and then numbers.
(For more information, see Entering Text for
Wireless Settings on page 47.)
Press OK when you have entered all the
characters.
e
Press a or b to choose Infrastructure,
then press OK.
f
Use the a, b and OK keys to choose one of the
options below: If your network is configured for
Authentication and Encryption you must match
the settings used for your network.
No Authentication or Encryption:
Choose Open System, press OK then
choose None for Encryption Type? and
press OK. Then press 1 for Yes to apply
your settings. Go to step k.
No Authentication with WEP Encryption:
Choose Open System, press OK then use
a or b to choose WEP for the
Encryption Type? and press OK.
Go to step g.
Authentication with WEP Encryption:
Choose Shared Key and press OK.
Go to step g.
Authentication with WPA/WPA2-PSK
(TKIP or AES) Encryption:
Choose WPA/WPA2-PSK and press OK.
Go to step h.
Authentication with LEAP:
Choose LEAP, press OK. Go to step i.
Authentication with EAP-FAST/NONE,
EAP-FAST/MS-CHAPv2, EAP-FAST/GTC
(TKIP or AES Encryption):
Choose EAP-FAST/NONE,
EAP-FAST/MSCHAP (EAP-FAST/MS-
CHAPv2) or EAP-FAST/GTC, press OK. Go
to step j.
g
Choose the appropriate key number and press
OK. Enter the WEP key you wrote down in
step 16-b on page 29 using the dial pad to
choose each letter or number.
For example, to enter the letter a, press the 2
key on the dial pad once. To enter the number
3, press the 3 key on the dial pad seven times.
The letters appear in this order: lower case,
upper case and then numbers.
(For more information, see Entering Text for
Wireless Settings on page 47.)
Press OK when you have entered all the
characters, then press 1 for Yes to apply your
settings. Go to step k.
33
