Brother MFC-J4610DW Manuel - Sayfa 29

Yazdırma Sunucusu Brother MFC-J4610DW için çevrimiçi göz atın veya pdf Manuel indirin. Brother MFC-J4610DW 36 sayfaları. Quick setup guide - spanish
Ayrıca Brother MFC-J4610DW için: Hızlı Kurulum Kılavuzu (47 sayfalar), Manuel (22 sayfalar), Ürün Güvenlik Kılavuzu (17 sayfalar), Manuel (13 sayfalar), Manuel (13 sayfalar), Hızlı Kurulum Kılavuzu (45 sayfalar), Ürün Güvenlik Kılavuzu (20 sayfalar), Hızlı Başlangıç Kılavuzu (29 sayfalar), Ürün Güvenlik Kılavuzu (25 sayfalar), Buradan Başlayın Kılavuzu (47 sayfalar), (İspanyolca) Guia De Web Connect Kılavuzu (38 sayfalar), (İspanyolca) El Kitabı (24 sayfalar), (İngilizce) Ürün Güvenlik Kılavuzu (16 sayfalar), (İspanyolca) El Kitabı (12 sayfalar), (İspanyolca) El Kitabı (11 sayfalar), (İngilizce) Hızlı Yapılandırma Kılavuzu (47 sayfalar)
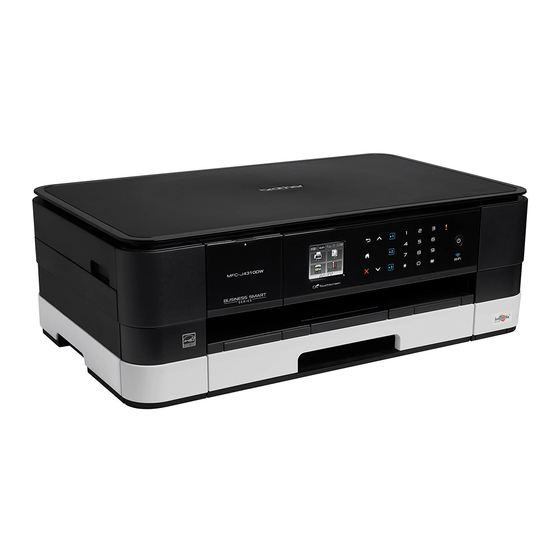
Brother MFC-J4610DW Manuel
Upload
Uploading images saved on the memory card or USB Flash
memory drive
Images saved on media connected to the machine can be uploaded directly to a service.
For details about services and supported features, see Accessible services on page 2.
NOTE
(For Hong Kong, Taiwan and Korea)
Brother Web Connect supports only file names written in English. Files named in the local language will
not be uploaded.
For MFC-J2510/J4510DW
a
Open the media slot cover.
b
Insert a memory card or USB Flash memory drive into your machine.
The LCD screen automatically changes.
c
Press Web.
If information regarding the Internet connection is displayed on the machine's LCD, read the information
and press OK.
d
You will be asked if you want to display this information again in the future.
Press Yes or No.
e
Choose the desired service.
f
Swipe up or down, or press a or b to display your account name, and press it.
g
If the PIN entry screen is displayed, enter the four-digit PIN and press OK.
h
If the screen that prompts you to select either upload or download is displayed, press Upload.
i
Press From the Media Card.
j
Press the thumbnail of the desired image.
Confirm the image on the LCD and press OK.
Repeat this step until you have chosen all the images that you want to upload.
k
After you have chosen all of the desired images, press OK.
l
Press OK.
The machine starts uploading the image(s).
m
Press
.
NOTE
• Uploaded images are saved in an album named "From_BrotherDevice".
• For information regarding restrictions, such as the size or number of images that can be uploaded, refer
to the respective service's website.
3
3
3
26