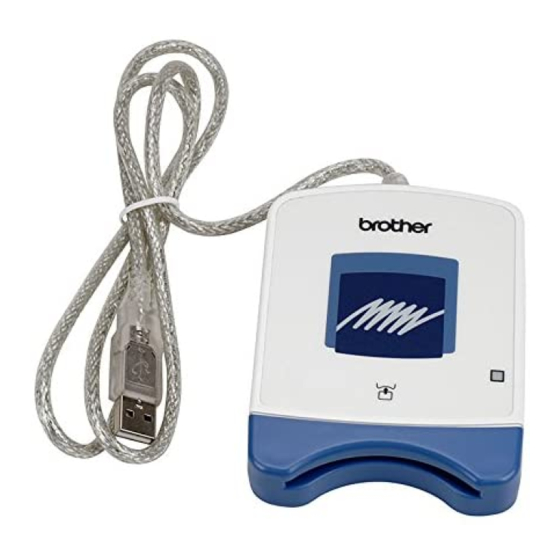
Brother PED-BASIC 1.0 Kullanım Kılavuzu - Sayfa 11
Yazılım Brother PED-BASIC 1.0 için çevrimiçi göz atın veya pdf Kullanım Kılavuzu indirin. Brother PED-BASIC 1.0 19 sayfaları. Users manual - english
Ayrıca Brother PED-BASIC 1.0 için: Hızlı Referans Kılavuzu (2 sayfalar)

NO.
Name/Button
7
Pattern size
slider
8
Select button ( )
9
Write button
(
)
0
Deselect button
(
)
A
Selected
patterns list
B
Card capacity
indicator
C
Icon size button
(
)
D
Properties button
(
)
E
Preview button
(
)
F
Print button
(
)
This can be used to size the pattern selected in the "Available patterns list" (
pattern size can be changed by a ratio between 90% and 120%.
The pattern cannot be sized to exceed the size of the selected hoop
size.
•
The new size can be checked with the "Size display" (6).
•
This is available only if one pattern in the Available patterns list (5)
is selected.
Click this button to add the pattern selected in the "Available patterns list" (
A
"Selected patterns list" (
Click this button to write to an original card the patterns displayed in the "Selected pat-
terns list" (
A
). (See page 9, "Write the data to an original card.")
Click this button to remove the pattern selected in the "Selected patterns list" (
Patterns selected with
card in the order displayed.
This shows the capacity of the patterns selected in the "Selected patterns list" (
page 9, "Reading the Card capacity indicator:")
Click this button to switch between large and small the display
size of the pattern images shown in the lists.
Click this button to display the information (size, number of
stitches, and colors) for the pattern selected in the "Available pat-
5
terns list" (
) or the "Selected patterns list" (
This is available only if one pattern is selected.
Click this button to display a three-dimensional image of the pattern selected in the
"Available patterns list" (
5
Click the button indicated on the right at the bottom of the dialog box to
change the display magnification as described below.
Click this button to print the information for the pattern selected in the "Available pat-
5
terns list" (
) or the "Selected patterns list" (
clicking [File], then [Print Setup].
This is available only if one pattern is selected.
Function
). (See page 8, "Select the patterns.")
(
8
) are displayed here. The data will be written to an original
A
).
) or the "Selected patterns list" (
Zooms so that
the image fills
the dialog box
A
) according to the settings specified after
5
). The
5
) to the
A
).
A
). (See
Example)
A
).
Zooms so the pattern can
be compared relative to the
size of the embroidery hoop
7
