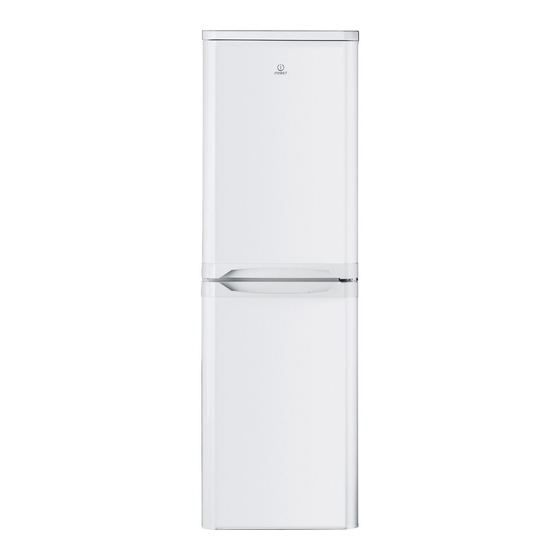
Indesit CAA55KUK Hizmet Bilgileri - Sayfa 12
Buzdolabı Indesit CAA55KUK için çevrimiçi göz atın veya pdf Hizmet Bilgileri indirin. Indesit CAA55KUK 13 sayfaları. Freestanding fridge freezer

- 1. Health and Safety
- 2. Table of Contents
- 3. Index & Serial Number / Industrial Code Format
- 4. Ca55Uk
- 5. Introduction
- 6. Ca55Kuk
- 7. Specifications
- 8. Detailed View
- 9. Component Details
- 10. Servicing & Dismantling Instructions
- 11. Door Reversal Instructions
- 12. Door Seal Replacement
- 13. Theoretical Wiring Diagram
Indesit
Company
DOOR SEAL REPLACEMENT
Various types of door seal are used for production and as replacements. See Figs. A, B and C showing
seal profiles. Note also the liner profiles A5, A6 and B5, B6 below.
Door seals as Fig. A, are retained by the liner which has 2 screws securing each corner.
Door seals as illustrated in Fig. B are not available as a spare part, but the seal as shown in Fig. C is
supplied as the replacement.
Removing the old Door Seal - See Figs. D to L. below
1.
Remove the freezer door or fridge door and place on a flat protected surface.
2.
Cut the seal across each corner (including the rigid tongue section retained by the liner).
3.
Each section can then be withdrawn from the liner using snipe nosed pliers and pulling.
Where the seal is particularly tight in the liner slot, it might be helpful to ease the edge of the liner away
from the door panel using a wide bladed screwdriver or chisel knife Part Number C00222502
(5500012). Similar practice should be adopted when fitting the replacement seal.
4.
Once the seal is removed and the liner seal pocket is empty, it can be helpful to insert the chisel knife
between the liner / door panel and slide it around the door to clear any debris.
Fitting the Replacement Seal
1.
Insert the replacement door seal rigid tongue between the liner and door panel and push into position,
Fig. L1. It may be necessary to insert a chisel knife C00222502 (5500012) between the liner and door
panel to get the seal started.
Service Manual UK
12 of 13
English
