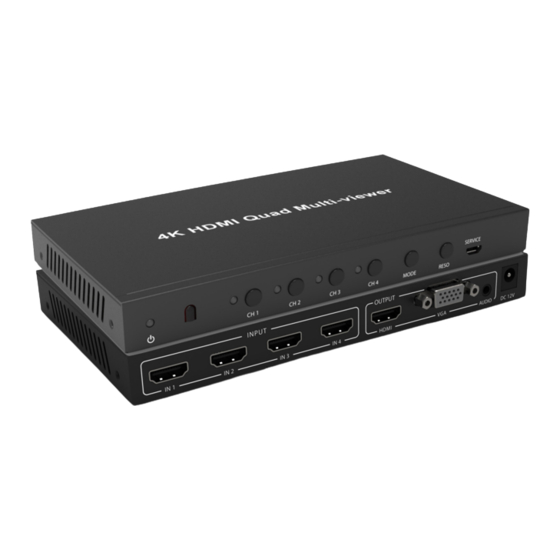
A-Neuvideo ANI-QUAD-LITE-4K Kullanım Kılavuzu - Sayfa 7
Monitör A-Neuvideo ANI-QUAD-LITE-4K için çevrimiçi göz atın veya pdf Kullanım Kılavuzu indirin. A-Neuvideo ANI-QUAD-LITE-4K 12 sayfaları. 4x1 hdmi quad multi-viewer w/ seamless switcher
Ayrıca A-Neuvideo ANI-QUAD-LITE-4K için: Kullanım Kılavuzu (12 sayfalar)

A
NEUVIDEO
Connect & Operate
1. Connect the signal sources such as Blu-Ray Player, Play Station 3, audio/video receiver, satellite receivers and computers equipped
with HDMI Output interfaces, with a short high-speed HDMI cable to the HDMI switcher Inputs.
2. Connect the HDMI Output of the HDMI switcher to a high-definition display device such as a HD-LCD, HD-DLP or HD projector with
HDMI Input interfaces. Use high-speed HDMI cables that are recommended for the distances that are required for each connection.
3. The switcher is powered by an external power supply, which is included. Connect power first to the source, then to the switcher and
then to the HDTV or projector.
4. The input source can be controlled from the display. This is accomplished by using an optional IR Receiver pigtail pointing away
from the display(s), which can be connected with an optional HDMI IR Adapter, and inserted between the HDMI cable connector and
the display with the toggle switcher at the "IR" position. The IR Transmitter pigtail is used to connect to the switcher and pointed to the
source(s). The switcher also has the capability of being controlled via the remote control.
PC GUI INTERFACE
INSTALLATION:
The PC controller is green software. Just use a cable to connect the PC via the RS-232 port and copy "Quad multi-
viewer.exe" to the PC to complete installation.
PREPARATION:
1. Connect the PC and multi-viewer with a RS-232 cable.
(headers of both sides of the cable should be FEMALE)
2. Power-up the multi-viewer.
3. Double click "Quad multi-viewer.exe" icon to run it.
SET UP:
1. Select the PC connect "COM" port. Click to connect
or disconnect the PC and multi-viewer.
2. Select the HDMI output resolution.
3. Select the input source.
4. Select the output mode, see the detail description.
Adjust the HDMI output picture quality.
6. Display or hide the OSD menu.
7. FW Upgrade Part: Click to open "FIRMWARE".
Then click the "UPGRADE" button. The new firmware
will auto download to the multi-viewer and restart it.
8. Press the RESET button. The quad multi-viewer will
reset to the factory state.
6
Connect & Operate
