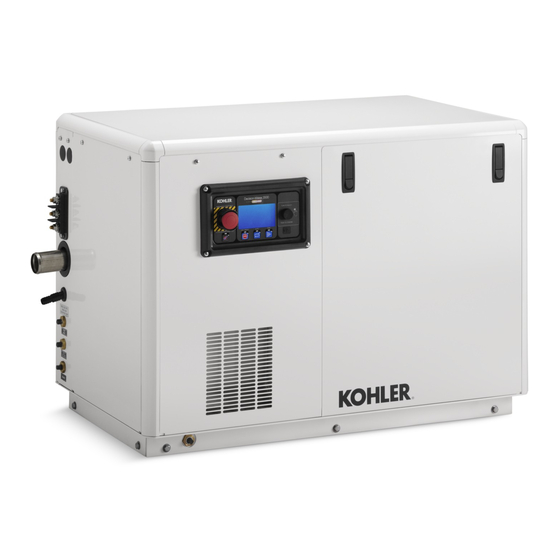
Kohler 13EFKOZD Kurulum Talimatları Kılavuzu - Sayfa 6
Taşınabilir Jeneratör Kohler 13EFKOZD için çevrimiçi göz atın veya pdf Kurulum Talimatları Kılavuzu indirin. Kohler 13EFKOZD 12 sayfaları.
Ayrıca Kohler 13EFKOZD için: Kurulum Talimatları Kılavuzu (8 sayfalar)

3.
Construct the framework.
3.1
Position the sound shield rails (GM89784-2 qty. 4)
as shown in Figure 11 using the corner bracket
and hardware identified in Figure 12.
1
1. Sound shield rails (GM89784-2 qty. 4)
Figure 11 Rail Framework
1. Carriage bolt (X-6224-20 qty. 4) and hex. nut (X-6210-7 qty. 4)
2. Corner bracket (GM74790 qty. 4)
3. Screw (M933-08020-SS qty. 8) and hex. nut (M6923-08-80
qty. 8)
Figure 12 Bottom Corner Bracket Assembly
(4 Places)
Note: Create corner assemblies by sliding the rail
bracket(s)
into
groove/channel. Position the rail bracket in place
and secure with the corner connector or bracket,
and hardware specified in Figure 12 and
Figure 14.
6
GM89517-C
1
2
3
GM89517-C
the
end
of
each
2
1. Rails (GM89784-1 qty. 2)
2. Rails (GM89784-3, or GM89784-4, or GM89784-5, or
GM89784-9 qty. 2)
Figure 13 Top Rail Framework
3.2
Position the top rails (GM89784-1 qty. 2 and
GM89784-3, or GM89784-4, or GM89784-5, or
GM89784-9 qty. 2) as shown in Figure 13 using
the corner bracket and hardware identified in
Figure 14.
3.3
See Figure 14 and Figure 15 for mounting bracket
locations.
1
1. Panel mounting bracket (GM77222 qty. 7), carriage bolt
(X-6224-20 qty. 7), and hex. nut (X-6210-7 qty. 7)
2. Corner connector (GM74137 qty. 4)
3. Carriage bolt (X-6224-20 qty. 12) and hex. nut (X-6210-7 qty.
12)
4. Panel mounting bracket (GM82181),
carriage bolt (X-6224-20), and hex. nut (X-6210-7)
rail
Figure 14 Top Corner Connector Assembly
(4 Places)
1
2
3
TT-1651 4/17a
GM89517-C
4
GM89517-C
