Kohler 55EFOZDJ Kurulum Talimatları Kılavuzu - Sayfa 3
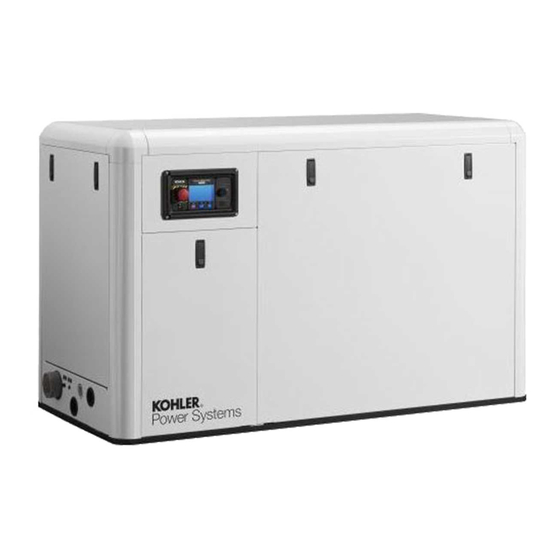
Taşınabilir Jeneratör Kohler 55EFOZDJ için çevrimiçi göz atın veya pdf Kurulum Talimatları Kılavuzu indirin. Kohler 55EFOZDJ 16 sayfaları. Sound shield kit gm86016-kp2 and ums sound shield kitgm88267-kp4
1.8
Position the generator set onto the sound shield
base (GM86015) and secure the set with 4 bolts
(X-6238-3 or X-6238-11) and 4 washers (X-25-37).
See Figure 2.
UMS Kit GM88267-KP4: Install two base plates
(GM88920) on sound shield base (GM86015).
Top View of Base
1. Engine end
2. Mounting hole locations
Figure 2 Sound Shield Base Mounting Position
1.9
Remove the end bracket cover. See Figure 3.
Save the mounting hardware and discard the
cover.
1
1. End bracket cover
Figure 3 End Bracket Cover
1.10 Remove the belt guard by removing the belt guard
brackets and hardware.
TT-1602 5/16
2
1
GM86014-B
GM79560-
2.
Construct the framework.
2
1
3
12
11
10
9
6
8
7
1. Rails (GM86079 qty. 4)
2. Internal rail (GM86084), bolts (X-6224-20 qty. 2), washers
(X-25-37 qty. 2), and nuts (X-6210-7 qty. 2)
3. Mounting bracket (GM86091), bolts (X-6224-20 qty. 4), and
nuts (X-6210-7 qty. 4) on each end of rail (GM86084)
4. Upper bulkhead (GM86074)
5. Internal rail (GM86085), mounting bracket (GM86091),
bolts (X-6224-20 qty. 3), and nuts (X-6210-7 qty. 3) on the
top of each rail. See Figure 14.
6. Extrusion mounting bracket (GM85876 qty. 3). See
Figure 6.
7. LH bulkhead (GM86076)
8. RH bulkhead (GM86075)
9. Internal rail (GM86085). See Figure 6.
10. Mounting bracket (GM86091), bolts (X-6224-20 qty. 4), and
nuts (X-6210-7 qty. 4). See Figure 14.
11. Corner extrusion mounting brackets (GM85875 qty. 4).
See Figure 5.
12. Internal rail (GM86083), mounting brackets (GM86091
qty. 2), bolts (X-6224-20 qty. 8), and nuts (X-6210-7 qty. 8)
Figure 4 Sound Shield Framework Installation
2.1
Cut foam (GM87549 or GM88912) to length and
insert into four rails (GM86079). Save remaining
foam for later.
2.2
Secure the rails (GM86079 qty. 4) to each corner
using the mounting bracket and hardware
identified in Figure 5.
3
5
4
1
6
GM86016-
3