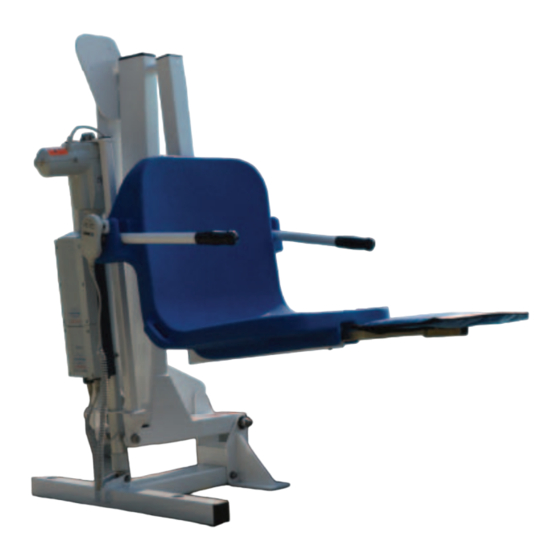
Aqua Creek Products Pro Pool-XR Deep Draft Manuel - Sayfa 7
Kaldırma Sistemleri Aqua Creek Products Pro Pool-XR Deep Draft için çevrimiçi göz atın veya pdf Manuel indirin. Aqua Creek Products Pro Pool-XR Deep Draft 18 sayfaları. Pool lift without anchor

Anchor Installation: Saw-cut Retro-fit
Required Tools:
• Concrete saw with diamond blade
• Tape measure
• 4' long straight edge or chalk line
• Sledge hammer
• Cold chisel
• Torpedo level
• String line
• Concrete and concrete tools
• #4 Rebar
FIGURE 5
ANCHOR BOLT (3)
Cu BONDING LUG
ANCHOR JIG-PLATE
#10-24 NYLOCK NUT
1/4" FLAT WASHER
1/4" X 3/4" PAN-HEAD
SIDE VIEW (ASSEMBLED)
45"
BONDING
45"
LUG
LABEL
#4
REBAR
FLUSH W/ DECK
4"
2500 PSI MIN.
6"
DRILL & EPOXY INTO EXISTING
SLAB (4" MIN EMBED)
*SETBACK DIMENSIONS ARE FOR FLAT DECK APPLICATIONS.
FOR SLOPED DECKS OR OTHER FEATURES, CONTACT AQUA
CREEK BEFORE INSTALLATION.
Copyright © 2015 Aqua Creek Products All Rights Reserved
1. Locate the anchor plate, three (3) anchor inserts with nuts and
Bonding Lug
mounting hardware). (If sold separately from lift, part number
F-910SAJP).
2. Mark out a section of the pool deck to be removed using a chalk
line or straight edge and a marker. Plan on removing at least a
3'-9" x 3'-9" x 6" section.
3. Using the saw with the diamond blade, make cuts along the
lines previously marked.
1" X 4"
4. Using the sledge hammer, break up the concrete within the area
cut and remove the pieces.
#10-24 X 3/4"
CAP-SCREW
5. After the portion of the deck has been removed, verify the new
1" HEX NUT (6)
deck will be able to be at least 6 inches deep.
6. Remove ONE of the nuts from each of the anchor inserts and
place the anchor inserts through the larger holes in the anchor
plate. Thread the nut back on the other side of the anchor insert
so the anchor plate is sandwiched between the nuts. (See FIG 5).
7. Install rebar in the open area of the deck. Tie the rebar into the
existing deck if possible.
8. Set the anchor system in place making sure the center line of the
anchor inserts are no more than 38 inches away from the pool's
edge.
9. Use the string line or a straight edge to make sure the top of
12"
TYP
38"
each anchor bolt is level and flush with the FINISHED deck
MAX
surface. Each anchor bolt can be adjusted individually by
8-AWG SOLID-
turning the nuts with a large wrench.
COPPER WIRE
(ATTACH TO
BONDING-GRID)
10. Bond the anchor system using the bonding lug on the anchor
jig-plate. The anchor should be bonded to the pool's bonding-
grid according to local code requirements. (Reference NEC
Article 680.26).
11. Pour concrete and finish the pool deck surface.
POOL WALL OR
FURTHEST
OBSTRUCTION
12. Once the concrete has cured, install the lift by aligning the holes
in the lifts base with the anchors installed in the deck. Secure
#4 REBAR E-W (4 PCS)
the lift to the deck using the stainless steel hardware provided.
Be sure to use anti-seize on all hardware.
FIGURE 6
7
Revised 12/3/15
