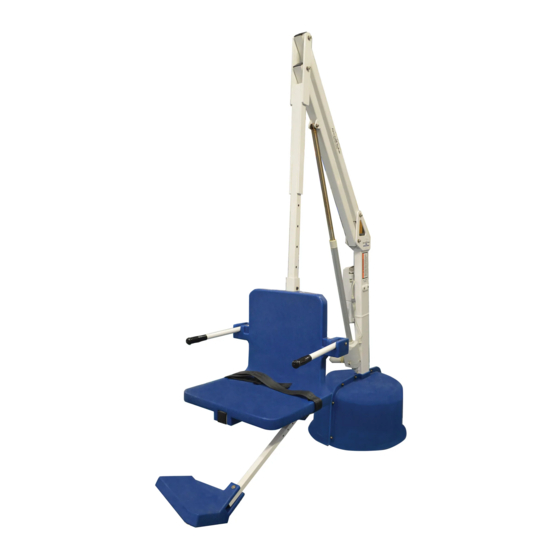
Aqua Creek Products REVOLUTION F-702RLNA-SPA-C Manuel - Sayfa 6
Kaldırma Sistemleri Aqua Creek Products REVOLUTION F-702RLNA-SPA-C için çevrimiçi göz atın veya pdf Manuel indirin. Aqua Creek Products REVOLUTION F-702RLNA-SPA-C 18 sayfaları. Spa lift
Ayrıca Aqua Creek Products REVOLUTION F-702RLNA-SPA-C için: Manuel (14 sayfalar)

ADA Fixing Insert Installation (Commercial Applications)
STEP 1: INSTALLING THE LIFT ON THE POOL/SPA DECK
1. Place the post of the main assembly into the anchor. DO NOT LIFT THE MAIN ASSEMBLY BY USING THE
ELECTRIC RAM AS A HANDLE. If the transport cart was ordered with the lift, it can be used eff ectively here.
If not, use two people.
2. Mark the location for the fi xing anchor hole and remove the lift.
3. Drill the hole with a 1 1/4 inch core drill or roto-hammer to a depth of about 4 1/2 inches.
4. Clean the hole out and make sure it is dry. Thread the 1/2 inch bolt into the top of the PVC fi xing anchor
and test fi t to verify it can be mounted perpendicular. See Step 1 below.
5. Using a two part construction epoxy, fi ll the hole approximately half full and carefully insert the PVC fi xing
anchor into the hole, twisting as you push down to evenly spread the epoxy.
6. Allow the epoxy to cure before securing the lift.
7. Re-install the lift into the anchor and using the 1/2 inch bolt and washer, carefully thread into the installed
anchor until snug. TO PREVENT BREAKING THE FIXING BRACKET, DO NOT OVERTIGHTEN!
1/2" X 2"
HEX BOLT
1/2" FLAT
WASHER
DECK
6
Copyright © 2021 Aqua Creek Products All Rights Reserved
STEP 1
(see pg 4, FIGURE A)
MAIN ASSEMBLY
POST
ANCHOR
Revised 5/28/21
