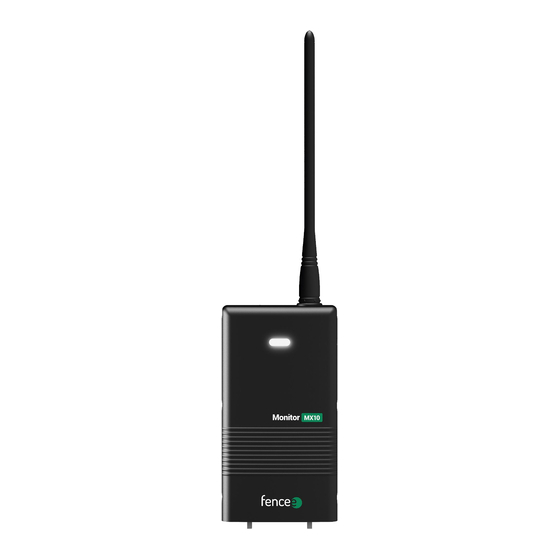
Fencee MX10 Kullanıcı Kılavuzu - Sayfa 6
Monitör Fencee MX10 için çevrimiçi göz atın veya pdf Kullanıcı Kılavuzu indirin. Fencee MX10 16 sayfaları. Remote monitoring of fence parameters
Ayrıca Fencee MX10 için: Kullanıcı Kılavuzu (16 sayfalar)

6. DESCRIPTION OF CONTROLS
Power supply
The Monitor is powered by two C-LR14 batteries, which must be inserted through the back
cover and the correct polarity must be observed. It is recommended to install alkaline
batteries for longer life. The battery status is indicated in the Gateway as a percentage.
Battery life is about 1 year.
Control
The device is controlled by the included magnet, which must be attached to the target on
the side of the MX10 Monitor. When the magnet approaches, the status of the Monitor is
indicated by an LED diode:
Red = off
Green = on
If no LEDs light up, the batteries need to be checked and replaced.
Switching on
Place the magnet on the target for about two seconds.
The Monitor first beeps and lights up the red indicator LED. Subsequently, the Monitor will
flash green and beep 3 times. The Monitor is now on and indicates its ON status by regular
flashing green LED. When the Monitor is ON, it indicates its activity for a limited time of
2 minutes to save battery power.
Shutdown
By bringing the magnet closer to the target for about two seconds.
The Monitor first beeps and lights up the green indicator LED.
Then the Monitor will flash red and beep twice.
The Monitor is now turned off.
TIP:
6
You can check the status at any time - by bringing the magnet
closer to the target for <1s. The colour of the LED indicates the
status: red = off, green = on.
