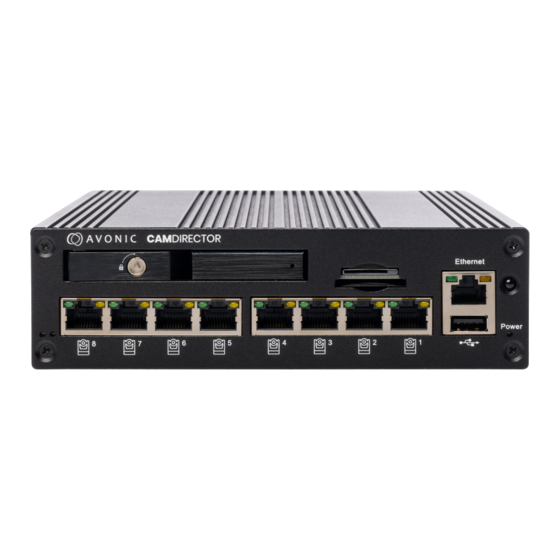
Avonic CD500 Hızlı Kılavuz - Sayfa 2
Medya Dönüştürücü Avonic CD500 için çevrimiçi göz atın veya pdf Hızlı Kılavuz indirin. Avonic CD500 2 sayfaları.
Ayrıca Avonic CD500 için: Kullanıcı Kılavuzu (20 sayfalar), Hızlı Kılavuz (2 sayfalar), Kullanıcı Kılavuzu (19 sayfalar)

QUICK GUIDE
1.
Unbox
Unbox the CD500. Contact Avonic if the package and/or its
content is damaged. Be gentle with the CD500.
2.
Install the CD500
Install the cameras to the MT220 mount using the supplied
screws. Download the MT220 manual at the
accessoiries
page
on the Avonic website.
3.
Connect the CD500
•
Connect the two cameras using CAT6a cables to the
camera ports on the CD500. For video output you need
to connect a HDMI cable.
•
Connect your computer to the CD500, configure your
ethernet adapter to network segment 192.168.5.xxx
4.
Configure cameras
•
Turn on the first camera and configure its network
settings according to your local network. Do the same
for the other camera.
•
Set both camera's exposure and white balance to
match the circumstances in the room.
•
Take note of the two IP addresses of the cameras, you
will need them during the installation of the CD500 and
Teacher Tracker.
5.
Configure CD500
•
Open a browser and navigate to the CamDirector's
default IP address: 192.168.5.50
•
Login using the following credentials:
Username: admin Password: admin
•
Navigate to System > Settings and setup the network
settings to your preferences. Add the IP addresses of
both cameras. Also check if your license has been
activated.
•
Save the changes and reboot the CD500, this will take a
couple of minutes. Upon reboot the CD500 will display its
IP address on the HDMI output for one minute.
6.
Configure software (calibration)
Calibration is needed for the CamDirector
software to track a person in
®
front of the camera. Follow instructions below:
1. Navigate to the Teacher Tracker > Calibration. You can do the
calibration by yourself, but it is recommend to do it with two persons,
one behind the computer and one person on stage.
2. Click Start Configuration. Follow on screen instructions. The calibration
is done when the Tally lights on the fronts of both cameras are solid
green.
3. Navigate to Teacher tracker > Info. Enable the teacher tracker slider.
4. Navigate to Teacher Tracker > Audience and follow the on-screen
instructions to set the Audience Exclusion zone.
5. The initial set up is done, you can close the WebGUI. The
CamDirector
is operational. Note that the overview camera is
®
stationary. Only the follow camera will follow the teacher. Note also
that any change made to the cameras after calibration, require re-
calibration of the Teacher Tracker.
7.
Complete Manual
Download the manual from www.avonic.com.
8.
Support Website
We've created a knowledge base in which you can find frequently
asked questions and interesting articles for you to read. This page also
contains a quick way for you to submit a support ticket or give support
a call. Add
support.avonic.com
to your favorites and you're ready for
every challenge that comes your way.
9.
Contact
You can reach us by telephone +31(0)15 711 2712, WhatsApp for
business +31(0)6 1600 9300 or via email
Let's create a story!
