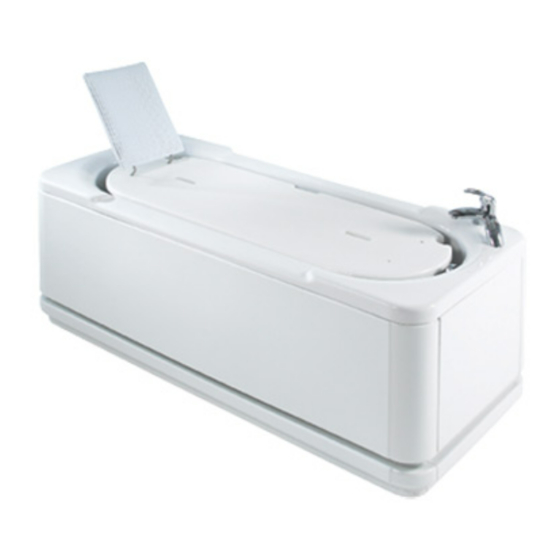
ABACUS Pisces Bilgi Paketi - Sayfa 10
Küvetler ABACUS Pisces için çevrimiçi göz atın veya pdf Bilgi Paketi indirin. ABACUS Pisces 17 sayfaları. Adjustable height bath

www.abacushealthcare.com
0808 256 4249
PISCES ON SITE ASSEMBLY INSTRUCTIONS
Follow these instructions if the unit comes in part form. Otherwise jump to page 12
Preparation
a) Carefully remove all packaging and inspect all components thoroughly. Note: Do not use sharp knives or
instruments to remove packaging around the finished surface areas of the bath.
b) Ensure all component parts are present before proceeding to remove any existing facilities. It is
important to ensure the complete kit is there. If there are ANY components missing contact the office and
quote the number on the side of the bath
c) Prepare the floor area and ensure it is flat, level and structurally sound & there are NO SERVICES BURIED
within the floor fixing area.
Base Plate Fixing – CRITICAL
See the Floor Fixing kit for the correct floor fixings to be used
Using the foot fixing template on the pre-install instructions, mark out the floor fixing holes for the End Base
unit plate.
Starting with the bath tap end base plate, drill 2 holes as appropriate for the fixings (Using the 400mm or
485mm centres) in the floor ensuring they are into a solid construction.
Clean out the holes & using the correct floor installation fixings tighten to within 2 mm of the base plate to
allow the base plate a small amount of movement (this will assist in assembling the rest of the bath).
Repeat with the foot end base plate paying particular attention to the 1205mm spacing. Use the other
holes to ensure extra fixing is made but these are only additional and not critical.
It is important that both end plates are completely vertical and spaced correctly as per FIG 4 below.
Scissor Frame
Introduce the scissor frame ensuring that it is the correct way round. (The 2 actuators on the scissor frame
should be at the opposite end of the bath to the waste) Support the scissor frame and align it so that the
holes in the scissor frame line up with the holes in the end plates. Fasten and tighten the two sets of 4 x
16mm M10 Allen bolts to the end frames. Tighten firmly using a spanner or socket wrench. This will hold
the scissor frame in place.
Platform Rods
Locate the 4 x platform rods (Ø30mm x approximately 470mm). Remove the bolts from the end of the
rods. Apply Loctite to the threaded portion. Offer the bolts through the holes in the cross members and
screw the platform rods onto the bolts. The platform hinges on the shorter rods so these should be at the
far side of the bath when the bath is installed. Tighten firmly by hand.
Abacus Pisces 069/Info.P 04/14v1a
10
