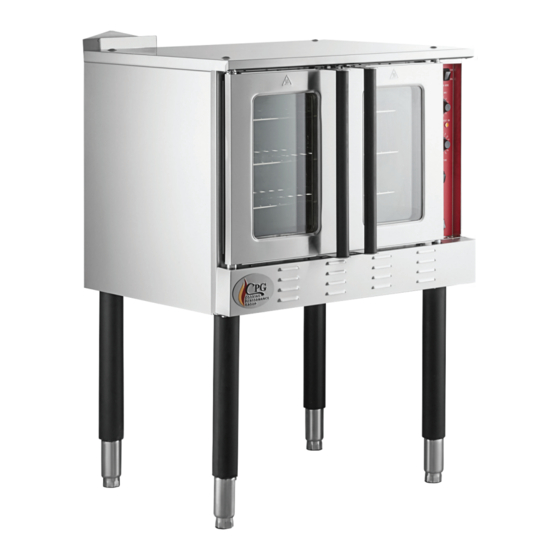
CPG 351FGC100DD Kullanıcı Kılavuzu - Sayfa 6
Konveksiyonlu Fırın CPG 351FGC100DD için çevrimiçi göz atın veya pdf Kullanıcı Kılavuzu indirin. CPG 351FGC100DD 12 sayfaları. Gas powered convection ovens
Ayrıca CPG 351FGC100DD için: Servis Kılavuzu (18 sayfalar)

User Manual
351FGC100DD(L/N) | 351FGC20DD(L/N)K
Startup
Installation
1 . Remove packaging before beginning installation .
NOTE:
Some parts are protected with an adhesive film. Remove any glue residue with approved substances,
such as Noble Chemical Strike All Purpose Cleaner (#147STRIKE1G); never use abrasive substances . (See
Cleaning & Maintenance on pg . 12 for our other recommended cleaning agents and further cleaning instructions)
2 . Mount the feet and adjust the height by loosening or tightening each foot to ensure the unit is level .
3 . The gas/electrical connections must be close to the equipment and easy to reach . You must use a new gas hose
to connect to this unit .
4 . Place the unit under an exhaust hood, ensuring you comply with your local regulations.
5 . Install the unit at least 2" from the wall and at least 6" from other heat-producing equipment. Any wall, surface,
cabinet, table, etc. in close proximity to the equipment should be made of non-combustible materials with proper
thermal insulation .
6 . Law provisions, technical regulations, and directives:
The manufacturer requires the installation to be performed according to national and local codes and must be
performed by a licensed installer .
7 .
Turn on the electric and gas valves:
a . Manually remove the wing nut located above the control panel (Fig . 1) and carefully open
the control panel . (Fig . 2)
b. Remove the screws on the back of the oven, then open the right side panel. (Fig. 3)
c . Check to ensure that the electric and manual intake valves are open . (Fig . 4)
d. Reinstall the right panel, then reattach the control panel with the wing nut.
NOTE:
For complete shutdown follow these instructions, but instead close the electric and manual intake valves.
Fig. 1
8 . Checking the functions:
Start the appliance; check the gas pipes for leaks; check the burner flame. See Gas Connection section on page 7
for more details .
Notes for the Installer
•
Explain and demonstrate to the user how the equipment works according to the instructions, and
ensure that the user manual is accessible .
•
Remind the user that any structural alterations or modifications made to the room that houses the
equipment will warrant a recheck of the equipment functions .
•
Do not install the equipment close to other units that can reach high temperature, as the electrical
components could be damaged. A 6" minimum clearance is required from such equipment.
6
Fig. 2
Fig. 3
Fig. 4
www.cookingperformancegroup.com
.
