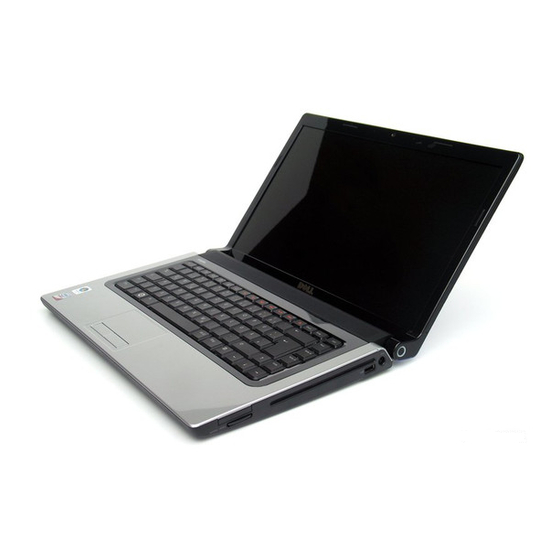
Dell 1555 - Studio - Chainlink Servis Kılavuzu - Sayfa 16
Dizüstü Bilgisayar Dell 1555 - Studio - Chainlink için çevrimiçi göz atın veya pdf Servis Kılavuzu indirin. Dell 1555 - Studio - Chainlink 50 sayfaları.
Ayrıca Dell 1555 - Studio - Chainlink için: Servis Kılavuzu (50 sayfalar)

7. Remove the keyboard (see
8. Disconnect the camera cable, display cable, and power button cable from their connectors on the system board and release it from the routing guides.
9. Pull the antenna cables through the routing hole and release them from the routing channel.
10. Remove the two screws that secure the display assembly to the computer base.
1
camera cable connector
3
power button cable connector
11. Lift the display assembly out of the computer.
Replacing the Display Assembly
1. Follow the instructions in
Before You
2. Align the display hinges with the holes in the base of the computer and then lower the display into place.
3. Replace the two screws that secure the display assembly to the computer base.
4. Slide the antenna cables through the routing hole to the base of the computer.
5. Secure the camera cable, display cable, and power button cable to their routing guides.
6. Connect the camera cable, display cable, and power button cable to their connectors on the system board.
NOTE:
Ensure that the display and camera cables are properly routed and secured beneath the routing guides.
7. Replace the keyboard (see
8. Replace the center control cover (see
9. Close the display and turn the computer over.
10. Replace and tighten the two that secure the display assembly to the bottom of the computer.
11. Replace the Mini-Card and connect the antenna cables to it (see
12. Replace the base cover (see
Display Bezel
Removing the Display Bezel
Removing the
Keyboard).
2
display cable connector
4
hinge screws (2)
Begin.
Replacing the
Keyboard).
Replacing the Center Control
Replacing the Base
Cover).
Cover).
Replacing the
Mini-Card).
