Dell Inspiron 600m Servis Kılavuzu - Sayfa 33

Dizüstü Bilgisayar Dell Inspiron 600m için çevrimiçi göz atın veya pdf Servis Kılavuzu indirin. Dell Inspiron 600m 40 sayfaları. Hard drive
Ayrıca Dell Inspiron 600m için: Buradan başlayın (2 sayfalar), Buradan başlayın (2 sayfalar), Buradan başlayın (2 sayfalar), Başlangıç Kılavuzu (2 sayfalar), Kullanıcı Kılavuzu (34 sayfalar), Kurulum Kılavuzu (2 sayfalar), Başlarken (2 sayfalar), Kurulum Kılavuzu (2 sayfalar), Kurulum Kılavuzu (2 sayfalar), Kurulum Kılavuzu (2 sayfalar), Kurulum Kılavuzu (2 sayfalar), Kurulum Kılavuzu (2 sayfalar), Kurulum Kılavuzu (2 sayfalar), Kurulum Kılavuzu (2 sayfalar), Servis Kılavuzu (41 sayfalar), Medya Tabanı Kullanım Kılavuzu (26 sayfalar), Servis Kılavuzu (41 sayfalar), Kurulum ve Yapılandırma (38 sayfalar), Hızlı Başlangıç (2 sayfalar), Hızlı Başlangıç (2 sayfalar), Hızlı Başlangıç (2 sayfalar), Bilgisayarınızın Kurulumu (2 sayfalar), Servis Kılavuzu (41 sayfalar), Servis Kılavuzu (4 sayfalar)
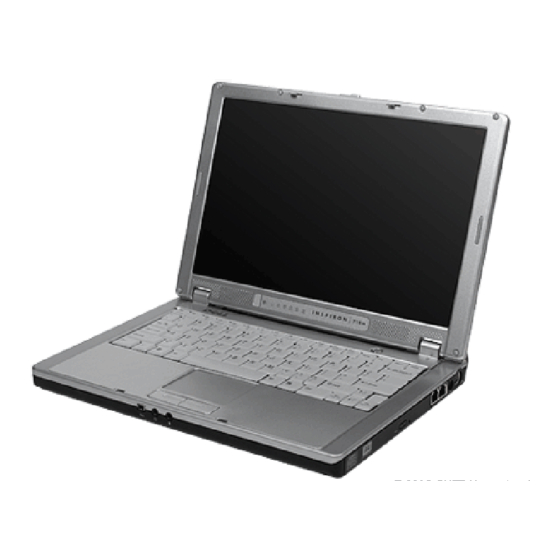
Dell Inspiron 600m Servis Kılavuzu
NOTICE:
Handle components and cards by their edges, and avoid touching pins and contacts. Ground yourself by touching a metal connector on the
back of the computer. Continue to ground yourself periodically during this procedure.
a.  Use your fingertips to carefully spread apart the securing clips on each end of the memory module connector until the module pops up.
b.  Remove the module from the connector.
 
8. Ground yourself and install the new memory module:
a.  Align the notch in the module edge connector with the tab in the center of the connector slot.
b.  Slide the module firmly into the slot at a 45-degree angle, and rotate the module down until it clicks into place. If you do not hear the click,
remove the module and reinstall it.
NOTE:
If the memory module is not installed properly, the computer may not boot properly. No error message indicates this failure.
 
9. Replace the cover.
NOTICE:
If the cover is difficult to close, remove the module and reinstall it. Forcing the cover to close may damage your computer.
 
10. Insert the
battery
into the battery bay, or connect the AC adapter to your computer and an electrical outlet.
 
11. Turn on the computer.
As the computer boots, it detects the additional memory and automatically updates the system configuration information.
To confirm the amount of memory installed in the computer, click the Start button, click Help and Support, and then click Computer Information.
 
Installing An Upper Memory Module
 
1. Ensure that the work surface is flat and clean to prevent scratching the computer cover.
 
2. Save and close any open files, exit any open programs, and
 
3. Disconnect the computer from the electrical outlet.
 
4. Wait 10 to 20 seconds, and then disconnect any attached devices.
 
5. Remove the
battery
and any installed PC Cards.
NOTICE:
Handle components and cards by their edges, and avoid touching pins and contacts. Ground yourself by touching a metal connector on the
back of the computer. Continue to ground yourself periodically during this procedure.
 
6. Remove the keyboard.
shut down the
computer.