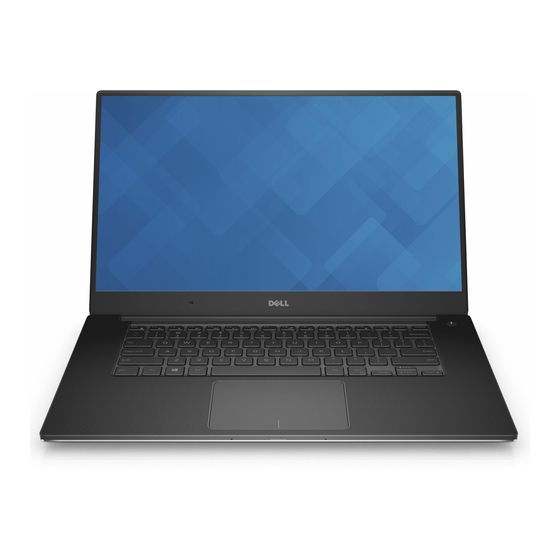
Dell P56F001 Kullanıcı El Kitabı - Sayfa 25
Dizüstü Bilgisayar Dell P56F001 için çevrimiçi göz atın veya pdf Kullanıcı El Kitabı indirin. Dell P56F001 50 sayfaları.

2. Align the screw holes on the palm-rest assembly with the screw holes on the display hinges.
3. Replace the screws that secure the display hinges to the palm-rest assembly.
4. Adhere the tape and route the touch-screen cable through the routing guides on the fan.
5. Connect the touch-screen cable and display cable to the system board.
6. Replace the screw that secures the display-cable bracket to the system board.
7. Follow the procedures in After Working Inside Your Computer.
Removing the DC-in Connector
1. Follow the procedures in
2. Remove the:
a.
base cover
b.
battery
3. Perform the following steps to remove the I/O board:
a. Disconnect the DC-in cable from the system board [1].
b. Remove the screw that secures the DC-in cable to the computer.
c. Remove the DC-in connector from the computer.
Installing the DC-in Adapter Port
1. Place the DC-in adapter port into the slot on the palm-rest assembly.
2. Route the power-adapter port cable through its routing guides on the palm-rest assembly.
3. Replace the screw that secures the power-adapter port to the palm-rest assembly.
4. Connect the power-adapter port cable to the system board.
5. Install the:
a. battery
b. base cover
6. Follow the procedures in After Working Inside Your Computer.
Removing the antenna cover
1. Follow the procedures in
2. Remove the:
Before Working Inside Your
Before Working Inside Your
Computer.
Computer.
Disassembly and reassembly
25
