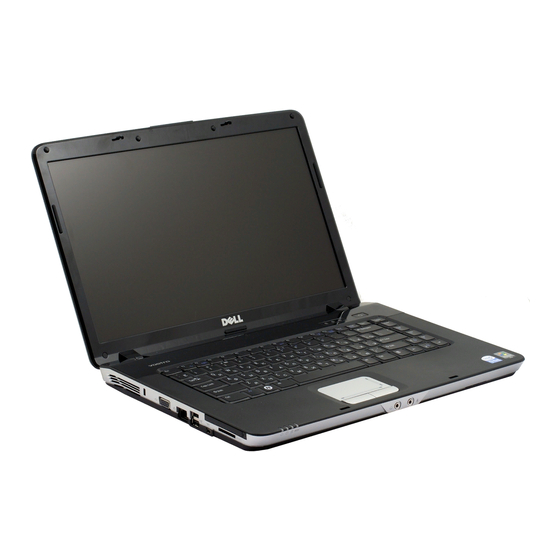
Dell PowerEdge 860 Servis Kılavuzu - Sayfa 35
Dizüstü Bilgisayar Dell PowerEdge 860 için çevrimiçi göz atın veya pdf Servis Kılavuzu indirin. Dell PowerEdge 860 37 sayfaları. Sas/raid controller installation
Ayrıca Dell PowerEdge 860 için: Bilgi Güncellemesi (14 sayfalar), Kurulum Kılavuzu (28 sayfalar), Kurulum Talimatları Kılavuzu (7 sayfalar)

1
system board screw (2)
3
speaker connector
14. Lift the system board at an angle towards the side of the computer and out of the computer base.
Replacing the System Board
CAUTION:
Before working inside your computer, read the safety information that shipped with your computer. For additional safety best
practices information, see the Regulatory Compliance Homepage at www.dell.com/regulatory_compliance.
1. Follow all of the steps in
Removing the System Board
NOTICE:
Before turning on the computer, replace all screws and ensure that no stray screws remain inside the computer. Failure to do so may
result in damage to the computer.
2. Slide the battery into the battery bay, until it clicks in place.
3. Turn on the computer.
NOTE:
After you have replaced the system board, enter the computer Service Tag into the BIOS of the replacement system board.
4. Insert the CD that accompanied the replacement system board into the appropriate drive. Follow the instructions that appear on the screen.
Back to Contents Page
2
DC-In connector
4
RJ-11 connector
in reverse order.
